Goal of this guide: learn to decipher notation so you can play simple tunes without being an expert in music theory.
The kalimba is played by plucking metal tines with your thumbs. Understanding sheet music and tablature opens up a vast repertoire. It also improves visual memory and makes it easier to share music.
By the end, you will know how to identify the type of notation, read it in the right direction, and understand the basics of rhythm. We will start with simple reference points (notes and octaves), move on to tempo and measures, then explore expressive markings (fermatas, ties, and triplets).
Practical progression: prepare the instrument, read simple sheet music, then move on to tablature that corresponds to the tines. Practice slowly, with a metronome if possible, and focus on accuracy before speed.
To explore the topic further, see this detailed guide, which illustrates each step.
Understanding the kalimba and why you should learn to read tablature
Understanding how the kalimba works physically helps you turn notation into a flowing melody.
An instrument with a distinctive resonance
The body consists of metal tines fixed to a board, often with a resonator. When you pluck one tine, neighboring tines vibrate too.
This creates a rich tone, with harmonics that color each note.
What reading music gives you
Learning to read notation opens up a wider repertoire. Visual memory makes melodies easier to memorize.
You can share your songs and teach them to other musicians.
“Practicing music improves certain cognitive functions.” — research citing Emmanuel Bigand / CNRS
Sheet music and a map of the instrument
Sheet music describes rhythm and pitch; the other format shows you directly which tines to play.
As a beginner, start with simple sheet music, then turn to the visual representation when you want more precision.
| Function | Sheet music | Map (visual) |
|---|---|---|
| What it shows | Rhythm and pitch | Tine positions |
| Advantage | Musical understanding | Quick reading on the instrument |
| Recommended use | Getting oriented at first | Rhythm practice and performance |
To learn more and find concrete examples, see this practical guide.
The main types of kalimba sheet music and tablature
Knowing the formats helps you choose the right way to learn quickly. The four main formats are Arabic numerals, letters (the Dutch system), advanced sheet music, and Mark Holdaway’s “lane” tablature (2003).
Numbers and letters: a starting point for beginners
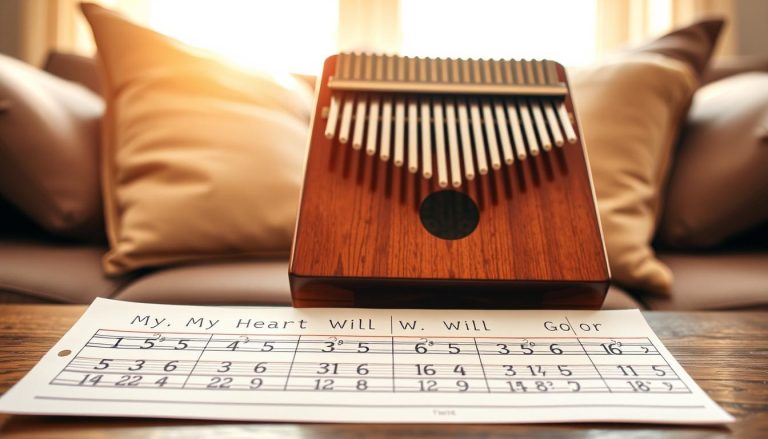
Numbers and letters appear as a line of text. They suit beginners who want to learn a melody without an in-depth knowledge of rhythm.
Advanced sheet music
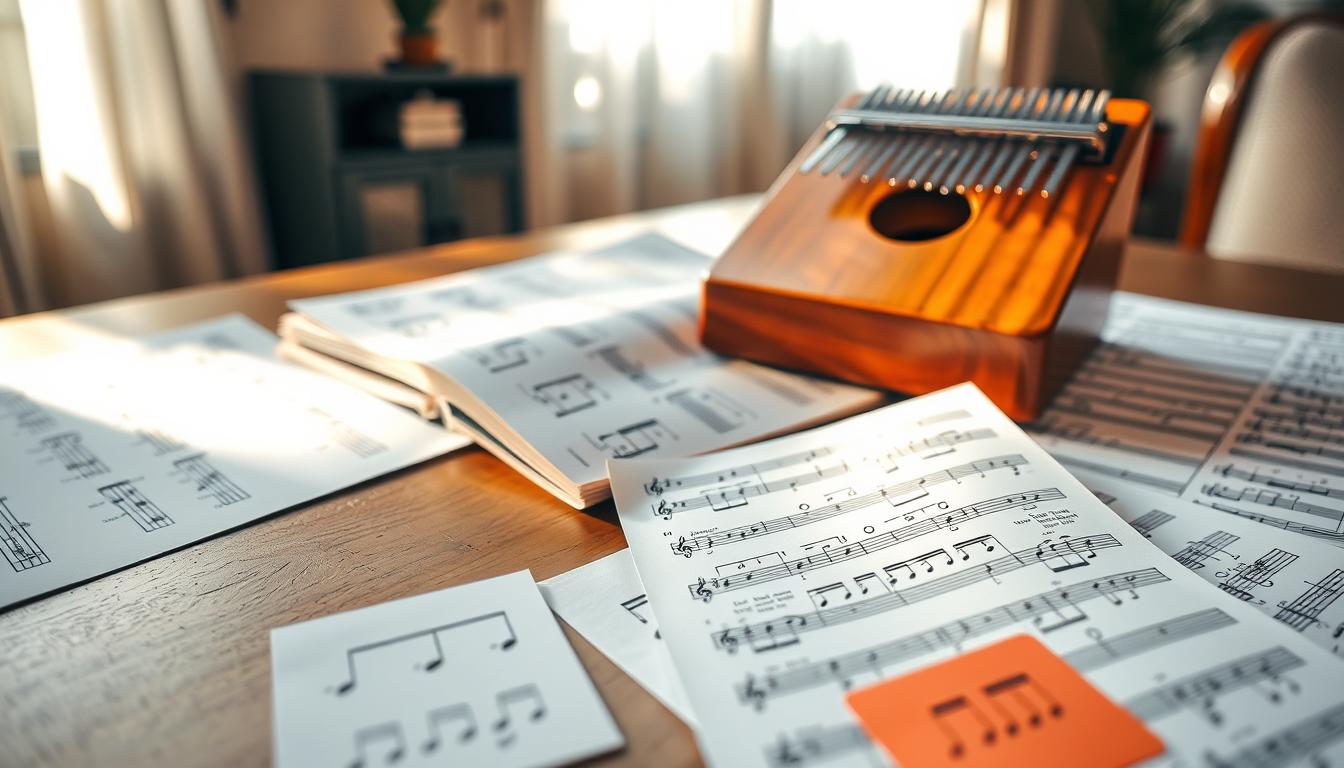
This format adds tempo, measures, and note lengths. It turns a simple list of sounds into a musical performance.
“Lane” tablature
Tablature shows the tines in vertical columns. It removes any ambiguity about which thumb to use and guides you precisely, tine by tine.
| Format | Use | Appearance |
|---|---|---|
| Numbers | Learn a melody quickly | Horizontal line |
| Letters | International note names (C D E) | Line of text |
| Advanced | Rhythmic interpretation | Bar lines and note values |
| Lane-based | Guidance specific to the instrument | Aligned columns |
First check: identify the format before you start playing so you do not read it in the wrong direction.
Prepare your instrument before reading sheet music
Start by checking the key and the range of the tines so you can adapt the melody.
Check the tuning and key
Quick checklist:
- Tune with a tuner.
- Identify the key shown on the sheet music (C major is common).
- Confirm that your instrument has all the required notes.
C major is common on many models. Pay attention, though: some pieces call for F major or another tuning. Without adjustment, the song may sound wrong.
Adapt to the number of tines
An 8-tine instrument has a more limited range. You often need to simplify the melody or move notes by an octave. Models with 17 or 21 tines reproduce the original more faithfully.
Visual markers for finding each note
Stickers or engravings can act as reference points. Mark the central note, then the notes moving outward.
“A quick visual reference saves time and prevents octave mistakes.”
Read kalimba sheet music written with numbers
NMCA: the key to numbers 1 through 7
C = 1, D = 2, E = 3, F = 4, G = 5, A = 6, B = 7. This chart matches numbers to the notes you play. It provides a quick key for following a written line.
Reading direction
Read from left to right, then from top to bottom. This makes simple sheet music straightforward to follow.
Octave marks
Octaves are marked with ° (or °°), sometimes with * or an apostrophe. On the instrument, engraved dots or stickers indicate relative pitch.
Chords and notes played together
Notes played at the same time appear in parentheses or are joined by a hyphen (for example, 6°-1°°). Use both thumbs for notes that are far apart.
If the tines are adjacent, a well-executed glissando, using short or slightly longer nails, can replace separate plucks.
“0” and a practical routine
The number 0 indicates a rest: count without playing to maintain the tempo.
- Read one measure.
- Play slowly while checking the octave.
- Increase the speed gradually.
Read kalimba sheet music written with letters
Letter notation uses the English alphabet to name each note, which is useful when consulting international resources.
Simple equivalents:
- C = Do
- D = Re
- E = Mi
- F = Fa
- G = Sol
- A = La
- B = Ti
Identify octaves and chords
Octaves are marked much as they are with numbers: a symbol or annotation near the letter indicates the pitch. Notes played together form chords; they appear on the same line or are grouped together.
Tip: connect the letters to labels or engravings near the central tine to read faster and find the right position.
The rhythmic limitation and how to overcome it
Letter notation often shows neither rhythm nor tempo. Two musicians may therefore play the same sequence of notes differently.
- Listen to a version of the song.
- Sing the melody while counting the beats.
- Use a metronome and keep a steady tempo.
For example, learn a familiar song from its letters, then vary the tempo to practice steady timing and reading.
Understand advanced sheet music: tempo, measures, and note lengths
Time signatures and tempo markings provide a framework so you can keep your place. They give you the structure needed to maintain the same rhythm throughout a piece.
Time signatures: what 4/4 means
A measure acts as a framework: it groups a repeating number of beats. In 4/4, there are four beats per measure, and a quarter note lasts one beat.
Tempo and BPM: playing slower or faster
Tempo, shown in BPM, determines the speed of the piece. Practice at 60 to 70% of the target BPM to master each note’s duration, then return to the indicated tempo.
Bar lines, markers, and organization
Bar lines separate phrases and help you resume after a mistake. Measure numbers are useful reference points when repeating passages and working on longer pieces.
Horizontal lines and rhythmic values
The lines show how long to hold a note or mark a rest. Understanding these values helps you avoid cutting off the melody or accumulating timing errors.
Ties and grayed-out notes
A tie combines several note values so you can hold a note without playing it again. Grayed-out notes indicate that hold: play the first note, then sustain it for the total duration shown.
“Count the four beats quietly, play the melody, then add the harmony if the sheet music has two lines.”
For practical examples and more help with reading, see this practical guide or explore other useful pieces in this suitable collection.
How to read kalimba tablature: symbols, numbers, and tips
Lane tablature is generally read from bottom to top, then from left to right. This direction feels surprising at first, but becomes natural as you follow the progression of the notes.
Columns = tines: finding your way around the instrument
Each column corresponds to a tine; its note name often appears at the bottom. Find the central column, then use the symmetry between left and right to locate the higher notes quickly.
Chords and aligned notes
Two aligned notes are played together as a chord. Three aligned notes form a larger chord and require both thumbs, as well as a slide if needed.
Numbered measures, tempo, and patterns
The numbers at the side help you return to a specific passage. Setting a metronome to the indicated BPM lets you increase your speed without losing the structure.
The geometric-pattern tip
Recognizing zigzags, steps, or triangles across the columns helps you memorize melodies and anticipate movements.
| Element | Meaning | Action | Tip |
|---|---|---|---|
| Column | Tine / note | Follow it vertically | Start with the central column |
| Alignment | Simultaneous chord | Play with both thumbs | Check how close the tines are |
| Number | Measure | Resume at a specific point | Practice one measure at a time |
| Marks | Patterns | Memorize the shapes | Look for repeated patterns |
For a practical example, first identify the chords, then the patterns, before practicing each measure. Consult the tablature-reading guide to explore this method further.
Essential rhythm basics for interpreting tablature
Rhythm turns a sequence of sounds into a clear musical phrase. Without accurate note lengths, the sequence becomes indistinct.
Whole, half, quarter, and eighth notes: lengths to know
In 4/4, count them this way: whole note = 4 beats, half note = 2 beats, quarter note = 1 beat, eighth note = 1/2 beat.
Practice by tapping your foot and saying “1-2-3-4.” Place the eighth notes on the “ands” between the beats.
Eighth-note beams: appearance and value
A beam groups eighth notes to make them easier to read. It does not change their duration: each eighth note still lasts half a beat.
Rests: pauses you must count
Rests shape the phrasing. You “play” them by counting, which maintains the tempo and prevents you from speeding up.
| Note | Value (4/4) | How to hear it |
|---|---|---|
| Whole note | 4 beats | Count “1-2-3-4” while holding the note |
| Half note | 2 beats | Hold for two beats |
| Quarter note | 1 beat | One clear beat |
| Eighth note | 1/2 beat | Say “1 and 2 and” to place it |
Method: choose a simple measure, count aloud, then play while keeping the same interval between attacks. This is a good exercise for improving.
Symbols to master for expressive playing
Marks on sheet music provide clues for interpretation. They help turn isolated notes into coherent musical phrases.
Fermata
A fermata suspends the tempo: hold the note or rest longer than its written value. In practice, extend it by a noticeable amount, then resume without breaking the phrase.
Tie
A tie adds together the durations of the same note without repeating it. This makes the melody flow more smoothly and avoids breaks between two note values.
Triplet
A triplet fits three evenly spaced attacks into the time of two. Count “one-and-two,” spacing three equal plucks to keep the rest of the measure steady.
Augmentation dot
A dot adds half the note’s value: a dotted quarter note = 1 + 1/2 beats. A double dot adds half of that addition again (+1/4). This is useful for syncopation and small variations.
Method: isolate the measure, practice it slowly with a metronome, then put it back into context.
Playing tips and common mistakes when reading tablature
Relaxing your thumbs immediately makes the notes clearer. This section offers practical advice on playing, coordination, and mistakes to correct while learning.
Glissando: when to use it and how to make it clean
Choose a glissando for chords on adjacent tines or to imitate a quick arpeggio when two notes should sound almost together.
For a clean glissando, keep the movement short, the angle consistent, and the pressure light. Practice very slowly until the attacks are even.
Coordinating both thumbs
Give the melody to your right thumb (higher notes) and the harmony to your left thumb (lower notes). Switch roles when the music calls for it.
Relax your shoulders and hands. Hold the instrument without squeezing it, and take short breaks to prevent tension.
Common pitfalls and quick fixes
- Confusing octaves: check the marks near the notes (dots and apostrophes) before playing.
- Unsteady tempo: practice with a metronome and count the rests.
- Neglected tuning: retune the tines before each session.
| Problem | Cause | Solution |
|---|---|---|
| Unclear notes | Tense thumbs | Relax your thumbs and practice slowly |
| Wrong octave | Misreading the marks | Check the octave marks |
| Uneven rhythm | Rests are not counted | Use a metronome and count aloud |
| Chords that sound wrong | Tines are too far apart | Use a glissando or simplify |
Step-by-step method: start with the melody alone, add the chords, then introduce ornaments such as glissando once the basics are steady. This supports lasting progress.
Conclusion
This guide offers a simple path from marks on a page to songs you can play.
In brief: prepare the instrument, learn the simple formats (numbers and letters), master measures, then practice with tablature read from bottom to top. This progression makes each melody more approachable.
Tablature is a map of the tines: it reduces hesitation and helps you become independent with new songs more quickly. Practice slowly, measure by measure, then raise the tempo when you can read reliably.
Your next step: choose a short song, find it in simple notation, then compare it with a tablature version to see the difference. Review octaves, chords, and note lengths: these are the most common sources of mistakes.
To learn more and see a practical example, follow this method and start creating your own arrangements.