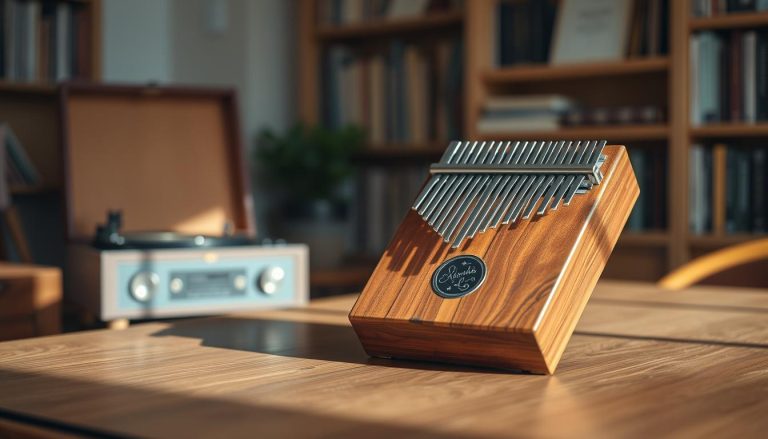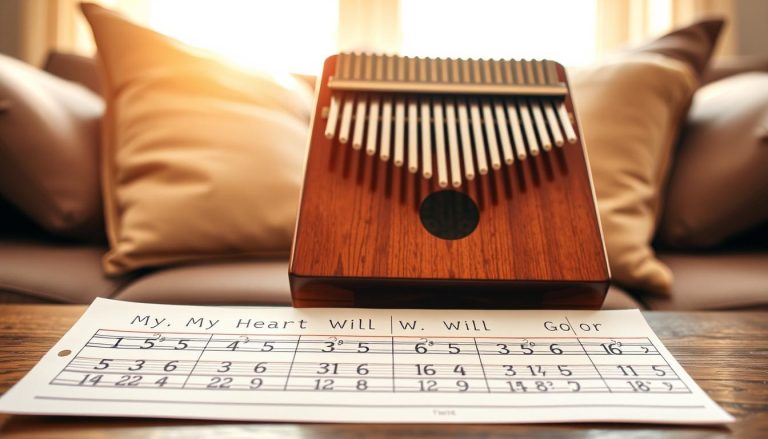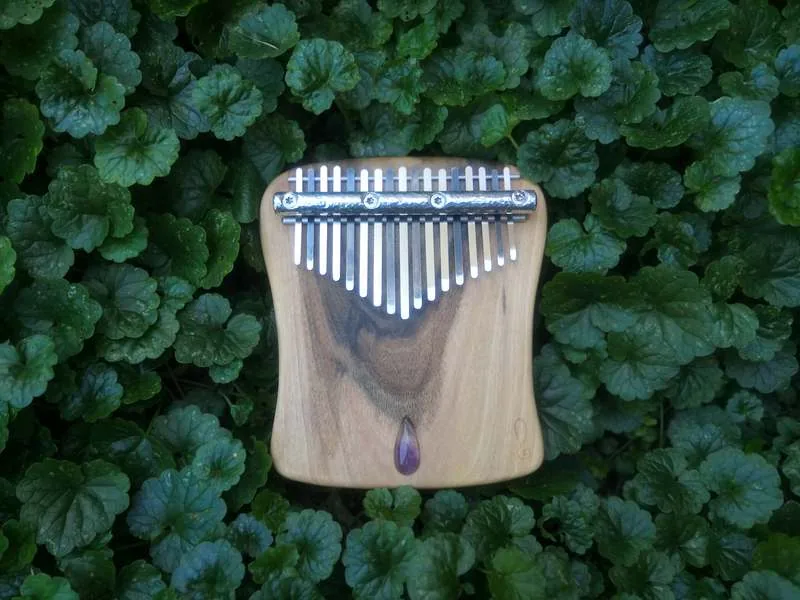
This guide covers the basics of learning scales on your kalimba, also called a thumb piano. In a few clear steps, you will find your bearings, learn to identify the tines, and create simple musical phrases.
Goal: by the end, you will know how to tune your kalimba and identify its notes, play a scale cleanly, read simple tablature, and turn a scale into a melodic pattern.
Who this is for: beginners, returning players, people with no knowledge of music theory, and owners of 8-, 17-, or 21-tine kalimbas. The lessons follow a logical order: note layout → holding the instrument → tuning → notation → playing a scale → creating melodies → rhythm → techniques.
A simple definition: a scale is an organized sequence of notes, such as the C major diatonic scale, which corresponds to the white keys on a piano. Practicing this foundation helps you learn songs faster and improvise.
Note: numbers and letters do not always show the rhythm; tablature remains a visual guide; and tuning affects everything. The central idea, notes ↔ movements, shows how the alternating layout of the tines lends itself to patterns played with the thumbs.
For a quick tutorial, see this practical mini-guide.
Why practicing kalimba scales changes the way you play
Practicing a scale gives you a real map of the notes. Instead of searching at random, you know where each scale degree is and can quickly find your way around the instrument.
Reliable landmarks for learning without memorizing everything
Reading sheet music or tablature reduces the need to remember everything by heart. Visual memory connects what you see with what you hear.
Develop your ear, visual memory, and rhythmic consistency
Repeating C-D-E helps your ear recognize resolutions. Playing with a metronome establishes a steady beat and makes your thumb strokes more consistent.
Improvise more easily and gain confidence
Even with little music theory, you can create call-and-response patterns. Set small goals: play the scale without hesitation, keep a steady tempo, and find the starting note of a song.
- Mental map: identify scale degrees at a glance.
- Learning: recognizing interval leaps means less memorization.
- Confidence: the instrument becomes more predictable and your playing more fluid.
| Benefit | Practical effect | Example |
|---|---|---|
| Finding notes | Less trial and error, greater accuracy | Finding the tonic without guessing |
| Ear training | Spotting mistakes quickly | Correcting a wrong note immediately |
| Rhythm | Keeping steady time with a metronome | Maintaining the beat in a simple song |
| Improvisation | Reusable patterns | Call and response without reading music |
To explore useful variations, discover pentatonic scales, which offer a simple way to play popular songs.
Understand the kalimba and how its notes are arranged on the tines
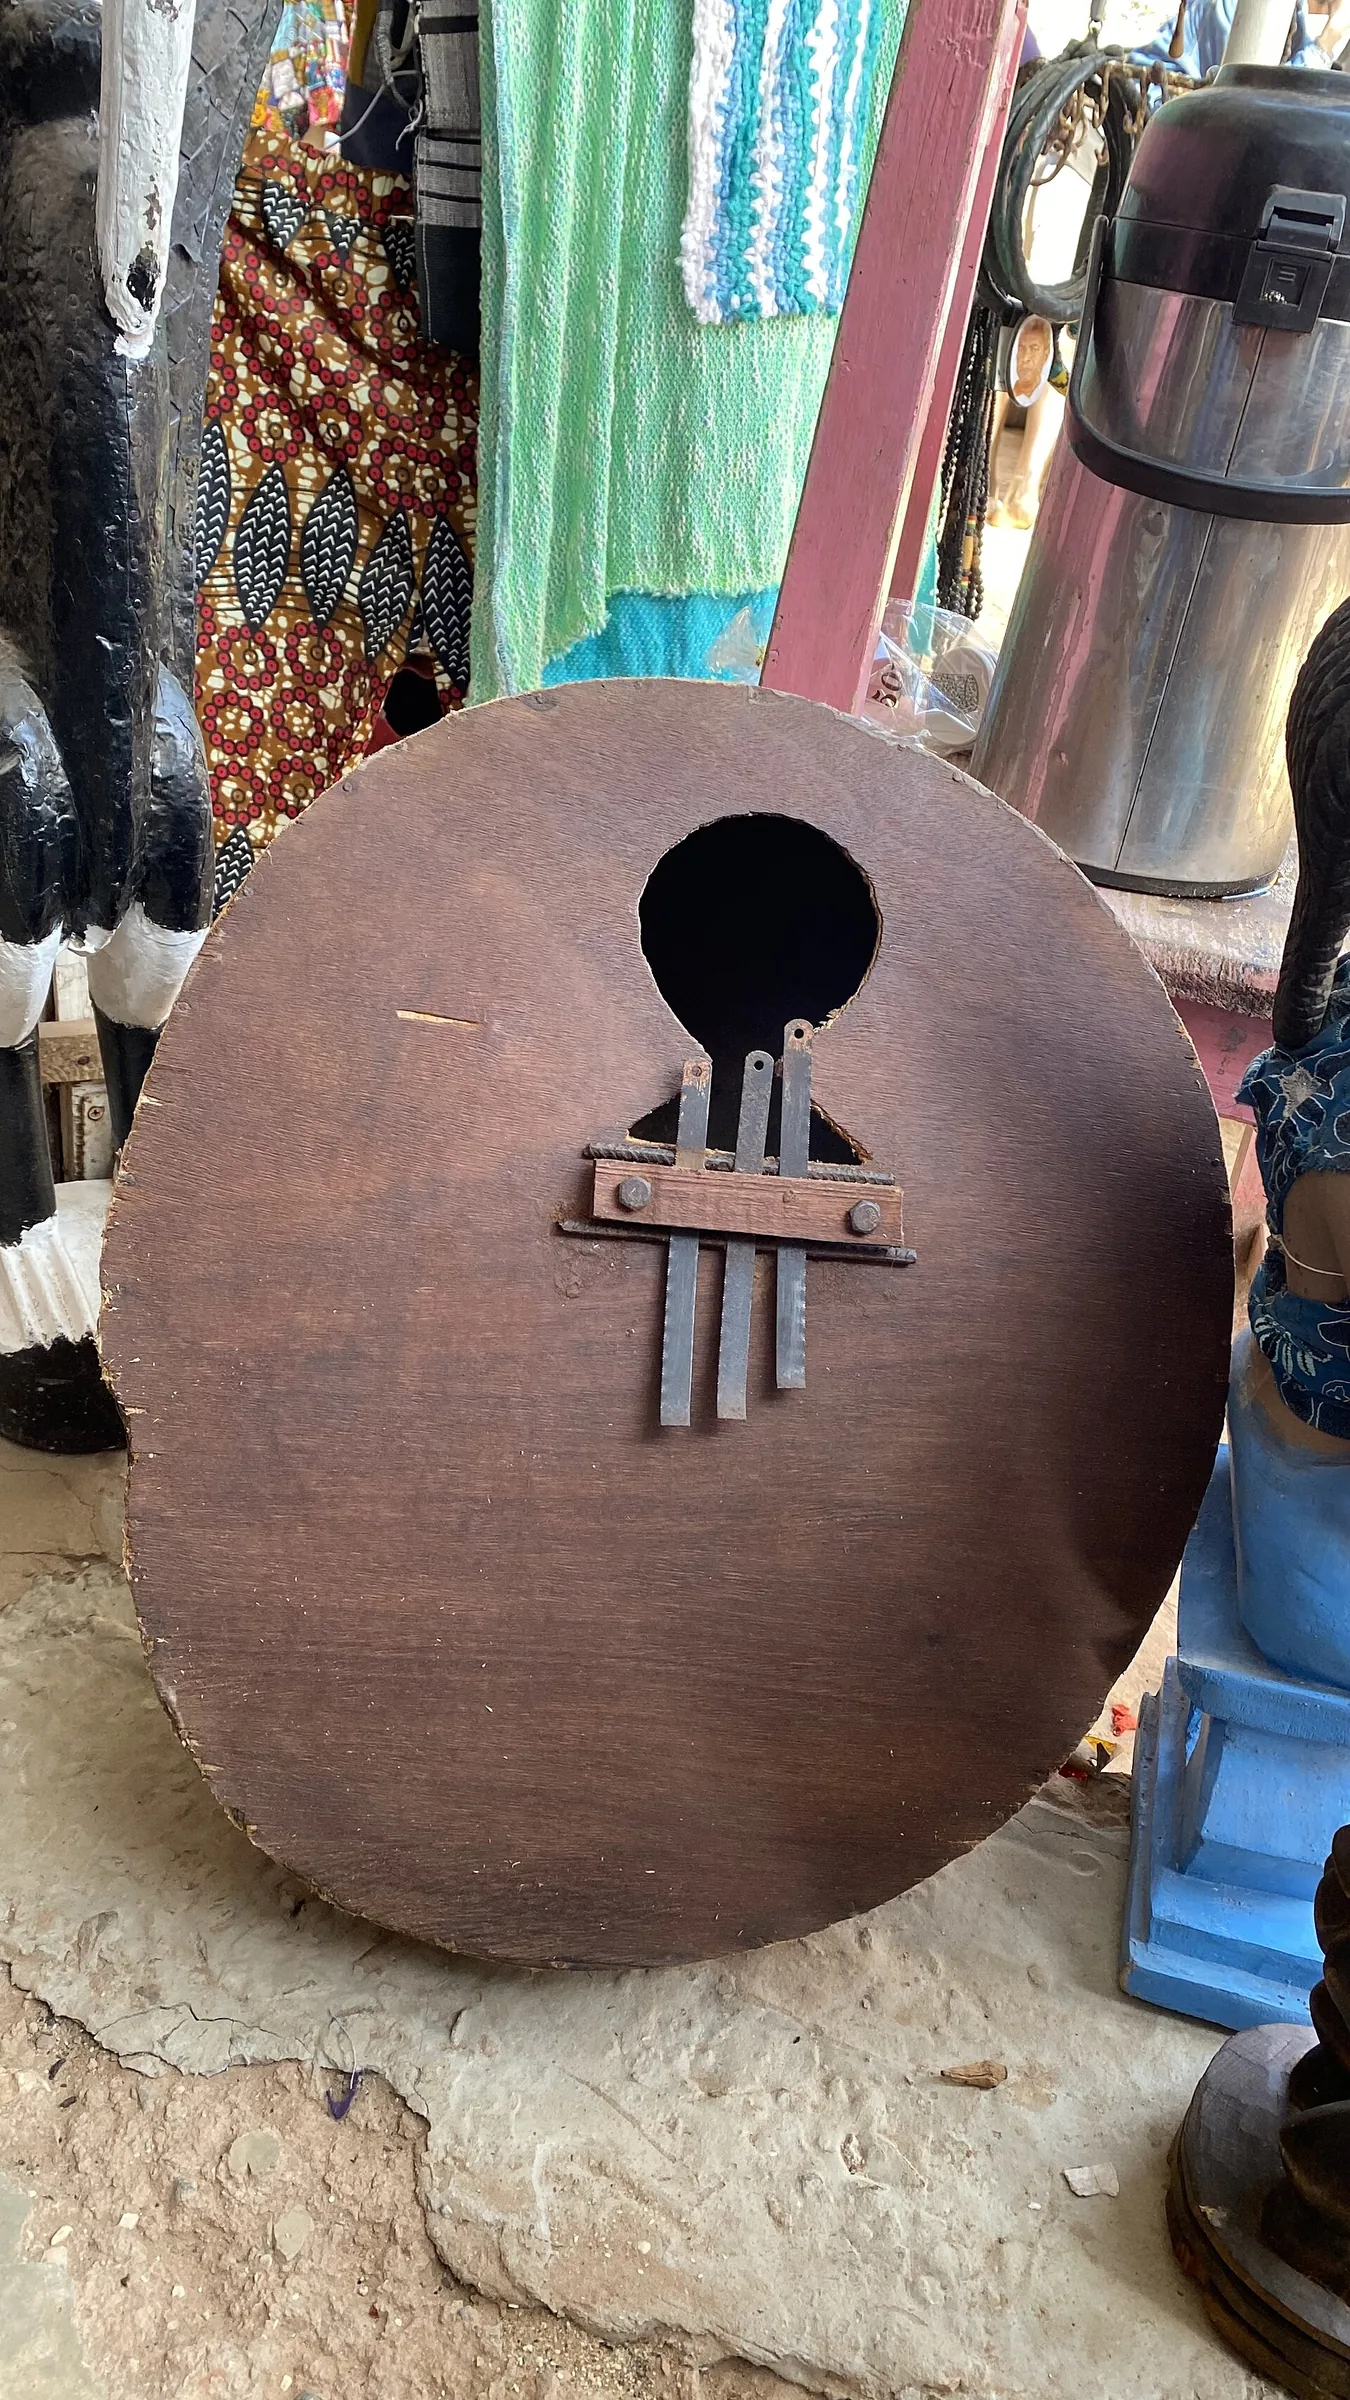
Before playing, it helps to understand how the instrument makes sound. A plucked tine vibrates, and the body amplifies that vibration. Do not muffle the resonance with your palms.
The “thumb piano” principle: the metal tines are lined up like small keys. Each tine produces a particular pitch and a distinct sound.
Alternating left-right layout
The lowest tine is often in the center, with higher notes toward the outside. This center-to-edge layout makes it easier to hear a scale rising or falling.
Keys, pitch, and octaves
Keys = tines. A note is the sound produced by a tuned tine. Notes in different octaves have the same letter name but different pitches, according to the length of the tine.
- Checklist: find the center note.
- Look for notes repeated in another octave.
- Identify the outermost tines; the highest notes may sound a little thin.
Understanding this layout makes building patterns much more intuitive. The thumb piano naturally encourages alternating thumbs as you move through the scale degrees.
Prepare your instrument before playing scales
Preparing the instrument and your hands before you play makes the task easier. Holding it correctly improves resonance and reduces fatigue.
Basic position: rest the instrument in your palms. Place your thumbs over the tines and keep your other fingers behind it for support. Hold it securely but without tension.
Let it resonate: do not block the rear holes. Avoid pressing the instrument flat against your hands; leave space for air to move so you get a full sound.
Plucking, nails, and comfort
Pluck the tine with your nail at a slight angle rather than with the pad of your thumb. This produces a clearer sound and reduces unwanted noise.
Sore thumbs are common at first. Friction and pressure cause the discomfort. With practice, calluses develop and the discomfort decreases.
- Quick test: play a note with the holes covered, then uncovered, and compare the sounds.
- Warm-up: spend five minutes warming up before each session and take regular breaks.
- Solutions: file your nail, adjust the height of your thumb, or use protective thumb sleeves.
Practical tip: a steady grip and consistent plucking are essential for playing each scale degree cleanly and improving quickly.
Tune your instrument for accurate scales (C major and other keys)
Good tuning ensures that every scale degree sounds right and that your ear learns the correct pitches. Otherwise, the exercises can work against you.
A common standard in France is the 17-key kalimba in C major, with the center tine tuned to C. This tuning makes it easier to use tablature and online resources.
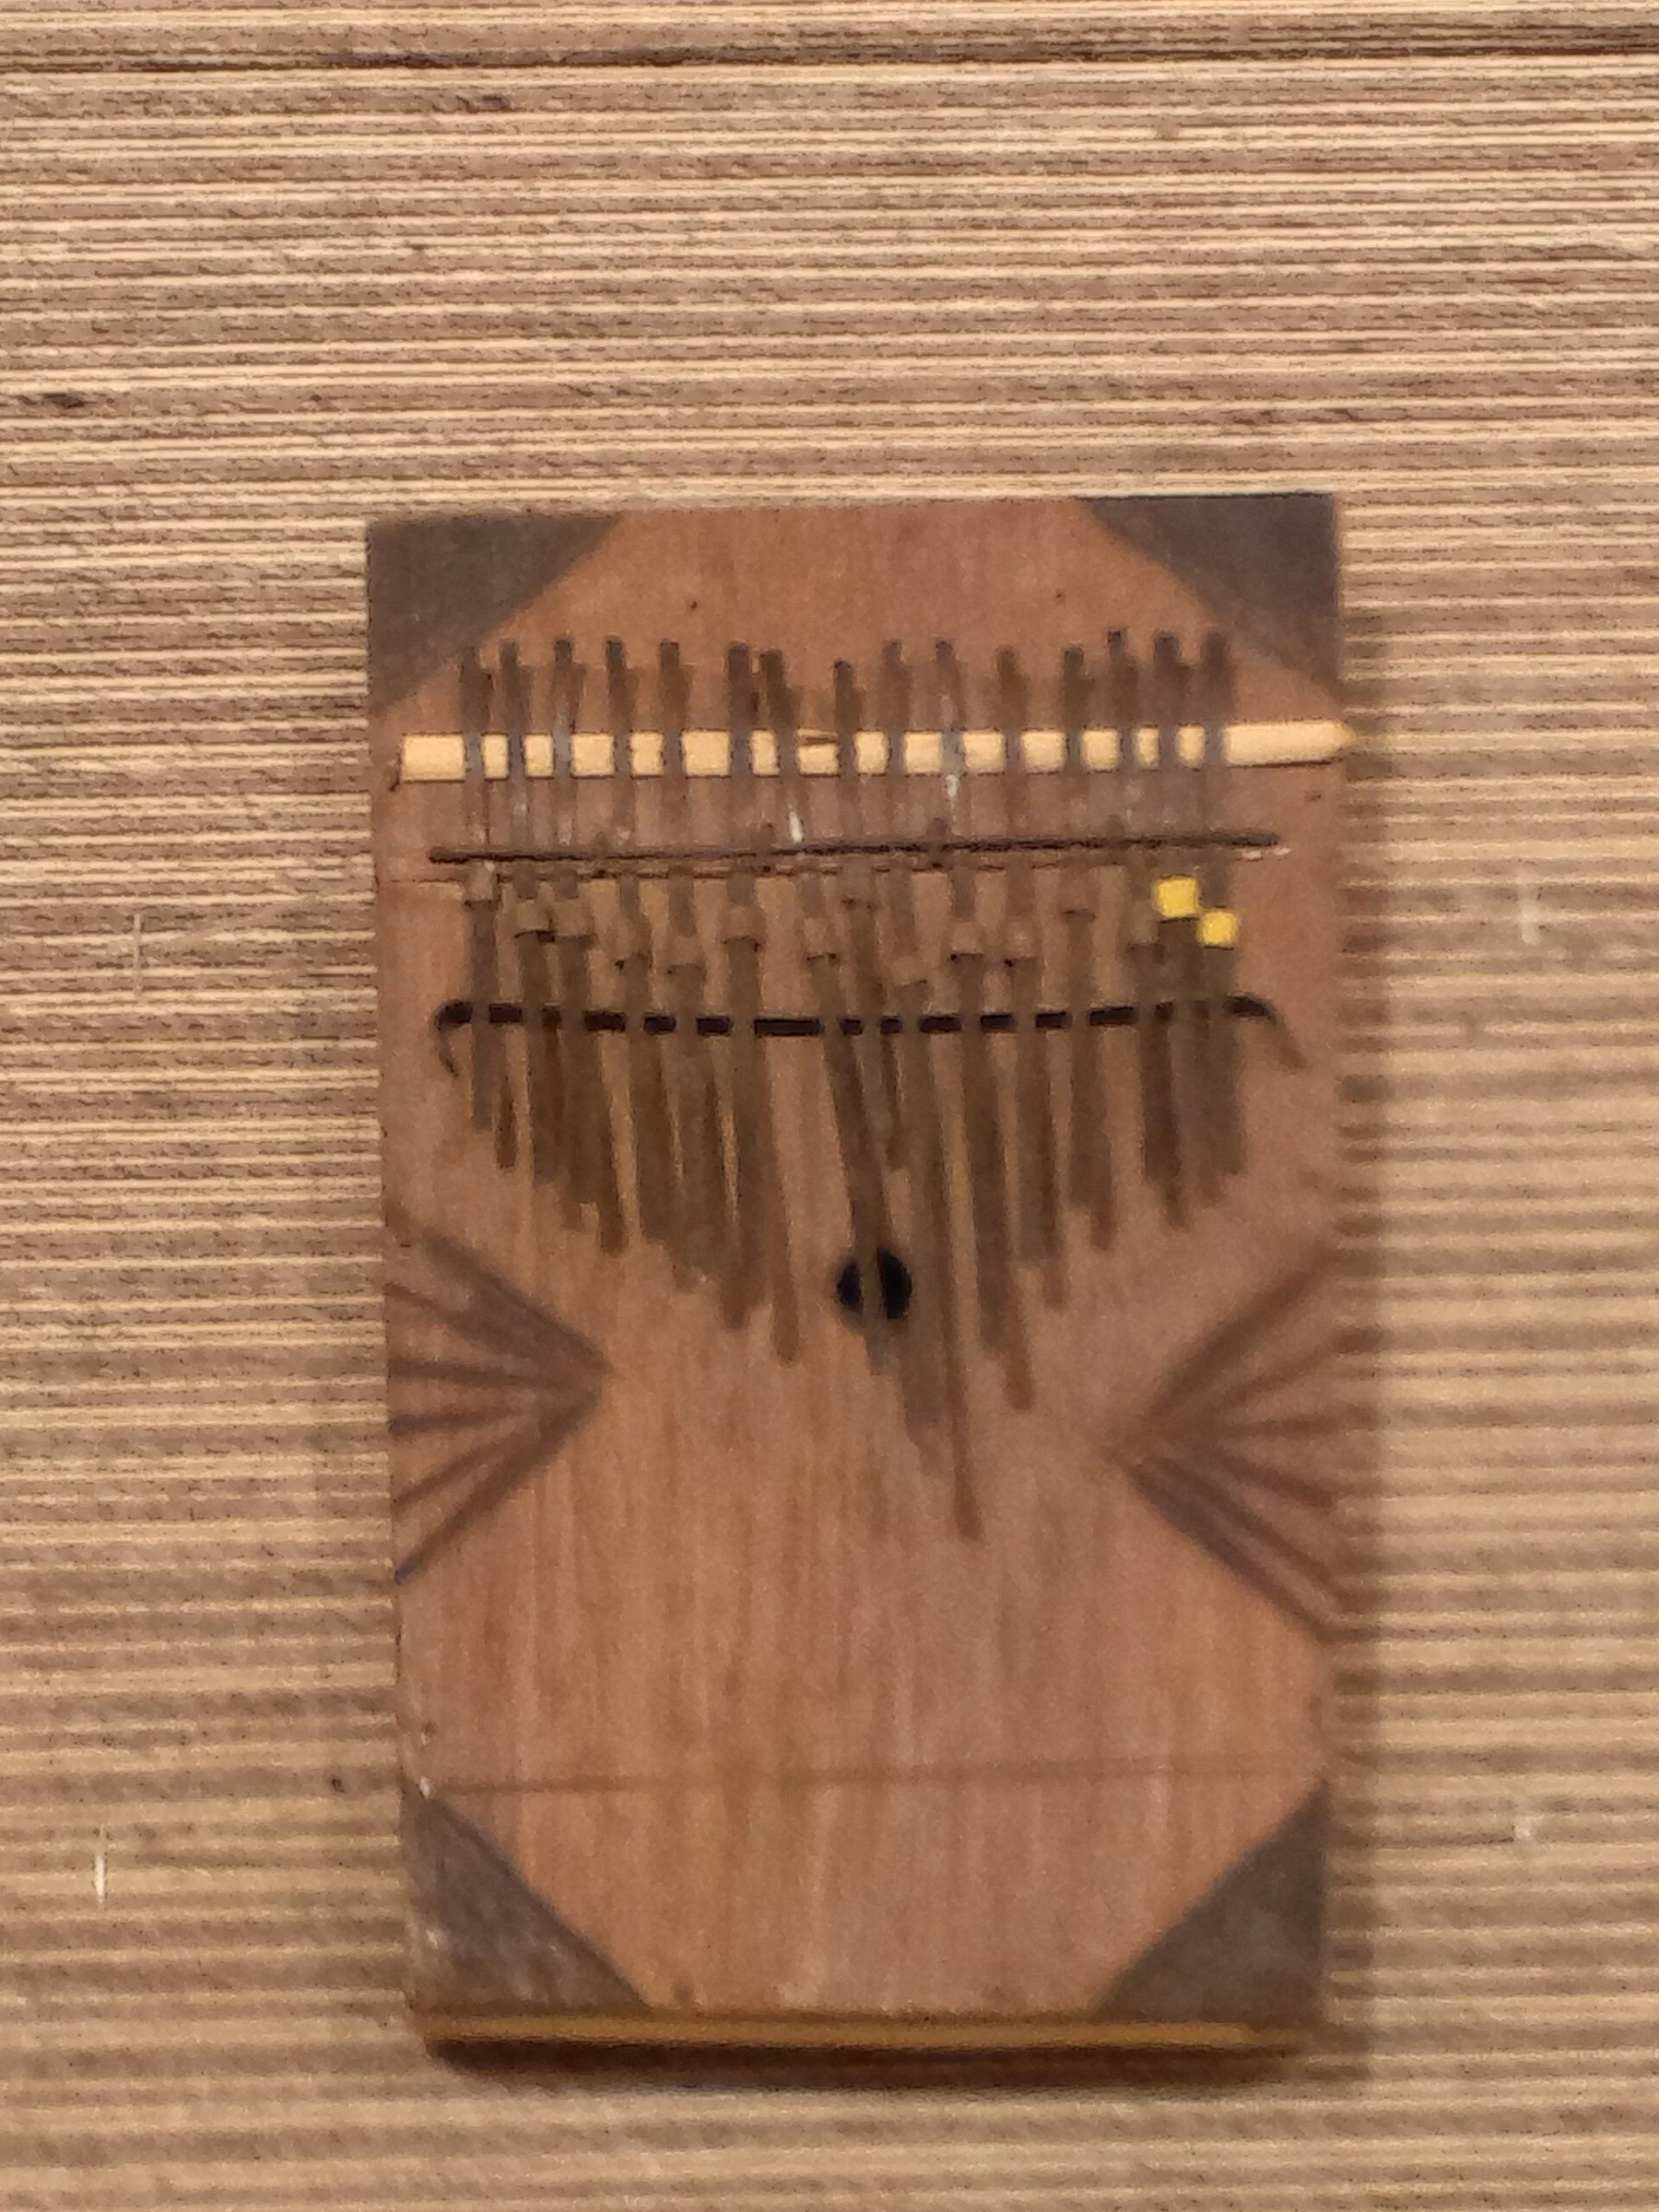
A simple procedure using an app
- Open a tuning app (Smart Kalimba, gStrings, or Free Universal Tuner).
- Start with the center tine (C), then check each key in turn.
- Let each note ring for one or two seconds in a quiet place, with the microphone nearby.
Fine tuning with a hammer
Use very light taps. If a note is too high, tap the tine downward to lower its pitch. If it is too low, tap upward to raise it. Check the note after every adjustment.
- A realistic routine: check the tuning weekly and do a quick check after travel or a significant change in temperature.
- Tip: stable tuning makes number and letter notation much more reliable.
For step-by-step instructions, see this tuning tutorial.
Note notation systems without getting lost
Making reading easier means connecting a symbol in the music to the tine you need to play. Two systems are common: numbered musical notation (NMCA) and letter notation.

Number notation (NMCA)
The aim is to read quickly and play without formal music training. Here are the equivalents:
- 1 = C, 2 = D, 3 = E
- 4 = F, 5 = G, 6 = A, 7 = B
You generally read from left to right, like text, one note at a time.
Letter notation
International resources use C D E F G A B. This system is common in tablature and videos and corresponds directly to the numbers above.
Octave markers and practical reading
Octaves are marked with symbols such as °, *, or an apostrophe. Some instruments have engraved dots or stickers above or below the tines.
Thus, “1 2 3 5” identifies scale degrees in one register. “1° 2° 3° 5°” uses the same degrees in a higher register.
- Tip: pair written notation with a recording to learn how long the notes last.
- Limitation: a sequence of numbers or letters does not always show the rhythm.
- Next step: tablature will bring together notes, rhythm, and notes played at the same time.
To find more sheet music and resources in English, explore this dedicated collection and keep progressing with confidence.
Read kalimba tablature to connect scales and melodies
Reading tablature turns a sequence of numbers into a practical playing plan. This visual guide helps you follow a musical line without guessing and play the kalimba more confidently.
How to read the music
First read from bottom to top: each column shows the progression of one part. Then, when several events follow one another, move from left to right.
One lane for each key
Each vertical column represents a key. These columns are sometimes called “lanes”: they help you quickly locate the scale degrees in a passage.
Simultaneous notes, measures, and tempo
Notes lined up together are played at the same time, either with both thumbs or with a slide if the tines are adjacent. Vertical lines mark measures; the time signature (for example, 4/4) specifies the number of beats in each measure.
Tempo in BPM describes the beat: start slowly and increase it once your rhythm is steady. To keep your place, isolate a short pattern and repeat it 10 to 20 times.
- Read: from bottom to top, then from left to right.
- Isolate: practice a short passage of the song at a slow tempo.
- Combine: join the small sections while keeping the beat.
Play a kalimba scale: a step-by-step method for beginners
Starting at a measured pace helps the movements become automatic and improves accuracy. On a 17-key instrument in C major, the diatonic scale follows this order: C D E F G A B, then C in the next octave, with no sharps or flats.
A practical approach: find the tonic (often C), ascend one scale degree at a time, then descend. Do not aim for speed; keep a steady tempo.
Slow exercises with alternating thumbs
Play each note cleanly, one at a time. Alternating thumbs helps you move smoothly between notes. Aim for a clear pluck with your nail, avoiding double strikes and accidentally touching neighboring tines.
A 15-minute practice session
- Five minutes of very slow ascending and descending scales, without a metronome.
- Five minutes with a metronome: one note per beat (quarter notes), then two notes per beat (eighth notes).
- Five minutes of rhythmic variations and rests (the symbol “0” can indicate a rest).
Volume and consistency: grow louder as you ascend, then softer as you descend. When you can play three clean ascents and three clean descents, increase the metronome by 5 BPM.
To learn more about pentatonic chords you can use in practice, see this guide to pentatonic chords.
Kalimba scales: understand the notes and build your melodies
Turning a scale into a singable phrase takes few tools, but some method. Start by choosing a small pattern of two to four scale degrees and repeat it with a different ending.
Simple intervals and call and response
Skipping a tine gives you a third (for example, 1-3-2-4). Use these leaps to create a pattern that poses a musical “question.”
Then answer by returning to a resting point (often C or G) to create a sense of resolution.
Rules for a singable melody
Start and end on a stable note. Add a passing note to connect two wide leaps.
Vary your repetitions: repeating a phrase and then changing it gives the listener something to recognize and remember.
Add harmony and arpeggios
Play two tines together for a fuller sound (simple chords). Then play the chord notes one after another as an arpeggio for a smoother effect.
“A small chord at the right moment changes everything.”
| Technique | What it adds | Example |
|---|---|---|
| Pattern using thirds | Melodic identity | 1-3-2-4 |
| Resting point | Tonal anchor | C or G |
| Simple chord | A fuller sound | Two adjacent tines played together |
| Short notation | Easy to reuse and share | Two to four measures in numbers, with the tempo |
Write it down and revisit it: note two to four measures in NMCA or letters, add the tempo, and make a short recording. This will help you recall the intended rhythm later.
To practice accompanying your singing and connecting melody with voice, read this practical article on singing with accompaniment.
Rhythm and musicality: make your scales sound like a real song
Rhythm turns a simple sequence of scale degrees into a phrase that breathes. Arrange accents, rests, and repetitions to give your exercises musical shape.
Tempo (BPM) and time signatures: the essentials
Tempo is measured in BPM. At 60 BPM, each beat lasts one second. Start between 50 and 70 BPM to steady your playing.
The time signature indicates the number of beats per measure (for example, 4/4 → 1-2-3-4). Vertical lines separate measures and help you place accents.
Note lengths and rests: apply them to your exercises
Turn an ascending and descending scale into regular patterns: for example, play four notes per measure to work on accuracy.
Use “0” to mark a rest and give the phrase room to breathe. Hold some notes to create points of support and play others more lightly to keep the music moving.
Ties, dotted notes, and triplets: when and why to use them
A tie means you do not play the note again: let it ring for a gentler phrase.
A dot adds half of a note’s value, letting you extend a scale degree without changing the tempo.
Triplets divide a beat into three equal parts. They create an interesting rolling effect without increasing the BPM.
“Count quietly, follow the metronome, and record 30 seconds: you will soon hear where to place the accents.”
- A short method: follow the metronome → count quietly → play for 30 seconds → listen to the recording.
- Turn a scale into a song: choose a simple rhythmic pattern, repeat it, then vary its ending.
Useful techniques to enrich a scale and melody
Effects should serve the phrase. They add expression, mark a resolution, and prevent a repeated progression from becoming monotonous.
Glissando: when to use it and how to play it cleanly
A glissando means sliding your thumb across several tines to create a fluid transition.
For a clean glissando, use a short, controlled movement over adjacent tines.
If you do not have long nails, gently brush the tines with the edge of a nail or play a quick arpeggio, one note at a time.
Vibrato and wah-wah: use the sound holes
Vibrato comes from changing the resonating space. Cover and uncover the rear holes to change the timbre.
Exercise: hold a note, make a wah-wah effect over four beats, then move to another scale degree.
Simultaneous notes: coordination and accuracy
Playing two tines together gives a fuller sound. Practice coordinating your thumbs without touching neighboring tines.
Start slowly, then increase the tempo once every chord sounds clean.
| Technique | Purpose | Practical tip |
|---|---|---|
| Glissando | Fluid transition | Short movement across adjacent tines; an arpeggio works if your nails are short |
| Wah-wah / vibrato | Changing the timbre | Cover and uncover a hole while the note rings |
| Simultaneous notes | Richer harmony | Coordinate your thumbs without brushing neighboring tines |
Recommended practice: add one subtle effect to each phrase. A consistent effect sounds better than an uneven excess that breaks the tempo.
For step-by-step explanations and structured exercises, see this practical guide to mastering the basics of playing.
Adapt a scale to a song: range, number of keys, and alternative tunings
First compare the range the song needs with the range of your instrument. Check the song’s lowest and highest notes. If either falls outside the instrument’s range, you will need to adapt the passage.
8, 17, or 21 keys: what can you actually play?
An 8-key model offers a simple, limited range. It is ideal for beginners but less suitable for melodies that span many notes.
The 17-key model remains the standard reference. It lets you play most popular tunes without too many compromises.
A 21-key model offers more high notes and octaves. Those high notes can sometimes sound thinner, and managing the extra tines takes more attention.
When a song exceeds the instrument’s range
- Move the phrase up or down an octave.
- Simplify an ascending passage by using the nearest available note.
- Rearrange the passage to preserve its musical character.
| Problem | Solution | Benefit |
|---|---|---|
| Notes are too low | Move the part up an octave | Preserves the melody |
| A high note is out of reach | Replace it with a nearby note | Preserves the musical idea |
| Sharps or flats are needed | Change the tuning or choose a chromatic instrument | Offers more flexibility |
Retuning: to transpose to F major, for example, use an app to adjust each tine, then fine-tune with a light tap of the hammer. If you want to play every sharp and flat without frequent retuning, consider a chromatic model.
“Many simple songs work very well in C. Adapt the music instead of forcing it.”
Conclusion
In short, adopt a simple routine that turns practice into visible progress.
A suggested path: hold the instrument steadily → check its tuning → read the symbols clearly → practice scale degrees slowly → repeat small patterns → create phrases and harmonies. This guide makes learning easier and playing more confident.
A seven-day plan: spend five minutes tuning, ten minutes playing a scale slowly, five minutes with a metronome, and five minutes inventing a pattern. Record one minute, note what gives you trouble (tuning, rhythm, or coordination), and work on it next time.
Tip: aim for consistency: several short sessions each week produce better results than occasional long ones. Then choose a simple song, identify its key, and check whether it fits your instrument’s range. When scales feel natural, melodies come more quickly and your music becomes more expressive.