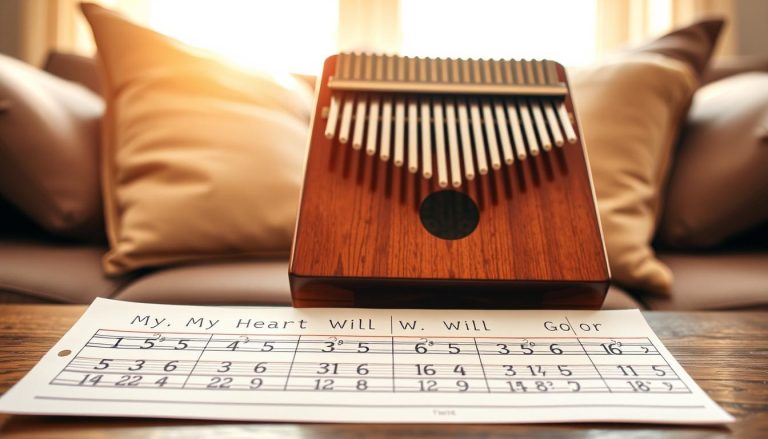
This practical guide presents a simple, repeatable way to put markers on your kalimba, whatever your skill level. The goal is to spot important tines instantly, follow tablature and make fewer mistakes from the first few minutes.
Start by cleaning each steel tine, then apply the markers carefully, avoiding the curved tip that your thumbs press. The notes do not run across the instrument like piano keys: they alternate between left and right, which makes a consistent method useful.
There are several kinds of labels: colored markers, letters, numbers and decorative designs. Your choice depends on how you use the instrument — for learning, following online tablature or customizing it — and how clear you want the markings to be.
Watch out for common mistakes: placing a sticker too high, using too many colors or mixing up notation systems. By the end of this article, you will know what to choose, where to put the markers, how to check the tuning and how to remove them cleanly.
To learn more about the instrument and its accessories, read our complete guide — including buying advice for France and DIY options.
Why put stickers on a kalimba?
A well-placed visual marker saves a lot of hesitation during your first lessons.
This instrument, often called a “thumb piano,” can be confusing. All its tines have the same metallic color. The alternating left-and-right note layout is not intuitive at first. As a result, you may aim for the wrong tine and make one mistake after another.
A few well-placed stickers act as landmarks. They help you find the right tine faster. You make fewer note errors and play more smoothly from your first melodies.
Read tablature and sheet music faster
Many online tablatures highlight particular columns. Markers on the instrument make them quicker to read. You can follow the music without losing the rhythm.
Memorize notes by area
Instead of learning 17 or 21 positions at once, use reference points. Markers help you memorize notes by area. It is a gradual way to learn.
Motivation and customization
Adding color to the instrument makes practice more enjoyable and encourages you to play for a few minutes each day. Regular practice helps you improve quickly.
Why avoid paint and markers?
Avoid using paint, felt-tip pens or any other permanent markings. They stain the instrument and are difficult to remove. Eventually, you may have to sand or replace the tines.
| Option | Immediate effect | Recommendation |
|---|---|---|
| Colored markers | Quick visual orientation | Use removable stickers |
| Numbered markers | Note identification | Match them to tablature |
| Permanent markings | Visible but irreversible | Avoid them |
To improve with suitable tablature, explore this selection of practical resources too: useful tablature and sheet music.
Which stickers should you choose for your needs and instrument?
Choose markers that suit your goal. If you mainly follow tablature, opt for solid-color stickers. They provide visual reference points and help you read faster.
Solid-color stickers
Use only a few colors and put the stickers on key tines: the center tine and others at regular intervals. Trim them if necessary so they do not get in the way of your thumbs.
Stickers with letters and numbers
To learn which note belongs to each tine, choose stickers with letters or numbers. Put each label on the tine that matches the note identified with a tuner.
Useful note equivalents
Do = C = 1, Re = D = 2, Mi = E = 3, Fa = F = 4, Sol = G = 5, La = A = 6, Ti = B = 7.
Dots above or below the numbers indicate the octave.
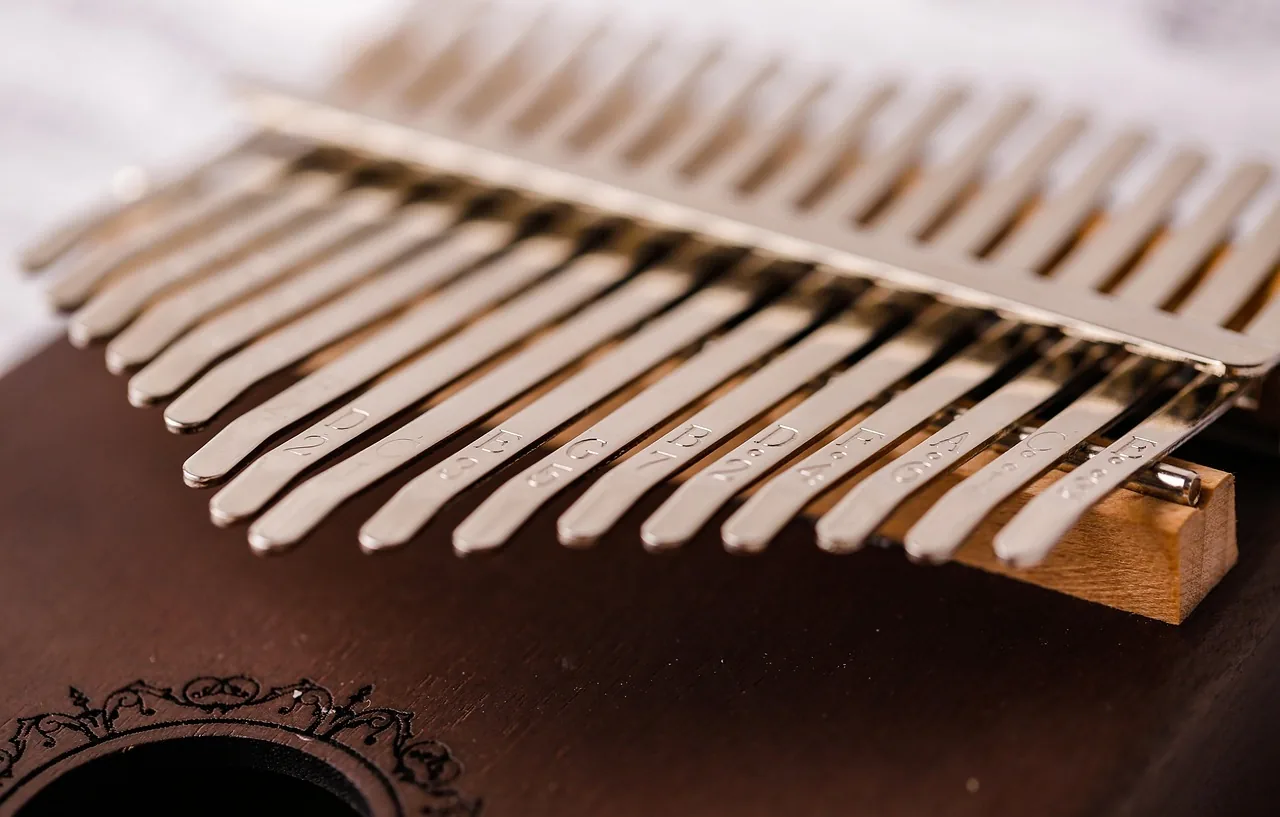
Engraved tines and the value of markers
Even if the notes are engraved, simple colored markers remain useful when you play quickly. They reduce hesitation without hiding the engravings.
Tuning and compatibility
Many instruments are tuned to C major. Always check the tuning with a tuner before applying labels. If the instrument is not tuned to C, adjust the markers after tuning it.
| Type | Recommended use | Benefit |
|---|---|---|
| Solid color | Following tablature and finding tines quickly | Faster reading |
| Letters and numbers | Learning notes | Precise identification |
| Custom or vinyl | Decoration and DIY projects | Durability and appearance |
To find resources and suitable stickers in France, read our complete kalimba guide. It covers shops, printable PDFs and custom options.
Kalimba sticker placement: a quick, mistake-free method
Start by setting the instrument on a stable surface and gathering your markers: this is the key to applying them neatly.
- Quick checklist: instrument on a stable surface, good lighting, and markers and note names within reach.
- Check the tuning before applying the first sticker so you put the markers in the right places.
Prepare the surface
Remove dust from the tines with a soft cloth. Then lightly degrease the area with a cotton pad dampened with rubbing alcohol to remove grease and residue.
This helps the stickers stay in place and prevents them from peeling off.
Apply stickers neatly and centrally
Align each sticker with the center of its tine and place them all at the same height to make the markings easier to read.
Trim a label if it interferes with thumb movement, then press it firmly for a few seconds without bending the tine. The tines must remain free to vibrate.
An essential rule and useful tips
Never put a sticker on the curved tip used by your thumbs: friction will wear it down and leave residue.
If you want to display both a note and a visual marker, place a transparent sticker over the marker to keep it legible and protected.
Glue for printed stickers
For DIY labels, choose a low-tack school glue. It makes the labels easier to remove later and protects the wood.
Where to put stickers for different kalimba models and tablatures
Before applying any stickers, identify the layout most often used in the music you follow. Markers help you find your place visually, much like the black keys on a piano. They should match the online tablatures you use most often so you make fewer mistakes when playing quickly.
Understand how the markers work
Stickers mark reference points. They help you find your position as you play faster. Choose a simple, repeatable system.
The Hugh Tracey layout
Principle: put one marker on the center tine, then another every three tines to the left and right. On a 17-tine kalimba, this gives you about five useful markers for reading most tablatures.
The modern layout and a practical choice
The modern variation often uses six markers and suits instruments tuned to C major. It may feel more comfortable, but remember that most online tablatures still follow the Hugh Tracey layout.
For detailed instructions and diagrams, read our complete kalimba guide.
Special cases
17 tines: mark the center, then check the alignment against a tablature. 21 tines: center your markers on the actual middle tine, because the four extra tines shift the layout. 8 tines: use fewer stickers to keep the markings clear.
A pitfall to avoid: too many colors or markings can increase confusion. Keep the layout simple and consistent from one practice session to the next.
Remove stickers without damaging the tines or wood
Careful removal prevents sticky marks and protects the wood and tines.
When to remove the markers
Common reasons: a change in playing style, damaged stickers, a switch to another layout or a new arrangement of markers as your skills improve.
Peel them off gently
Start with your fingers: lift an edge and pull it back slowly, close to the surface. Never pull straight up, as this can leave glue behind.
If part of a sticker will not come off, use a rigid plastic card, such as a bank card, held almost parallel to the tine. Scrape gently to lift the residue without scratching the metal.
Final cleaning and care
Avoid harsh solvents on the wooden body: work only on the tines. Wipe them with a soft cloth to remove any marks.
Then apply a very small amount of suitable maintenance oil. It nourishes the wood, protects the surface and prepares it before you apply new stickers.
Recommended quick routine: remove → clean → let dry briefly → apply new stickers. Working carefully prevents residue from building up, getting in the way of your thumbs and spoiling the instrument’s appearance.
For step-by-step instructions and recommended tools, read our practical guide.
Conclusion
Choose a clear method that guides your fingers and thumbs.
Three things to remember: choose markers that suit your needs, apply them carefully while avoiding the curved tips, and keep the layout simple to limit mistakes.
If you are unsure, use a tuner to tune your kalimba before marking the tines. For most online sheet music and tablature, the Hugh Tracey layout remains the standard choice.
A few minutes of daily practice are enough to help you find the notes automatically. Remember: you can always remove and neatly reapply the markers if you change instruments or layouts.
Final checklist: check the tuning, apply a few markers, play a simple melody and adjust them if needed.