Learn C418’s “Wet Hands” with a simple, step-by-step method. This guide is for beginners with a 17-tine kalimba tuned to C major who prefer numbered notation to reading a musical staff.
What you’ll find: a guided reading of the tab, pointers to help you keep your place, and a clear method for practising rhythm and thumb placement.
We use tabs commonly found online that are easy to play by ear and with your thumbs. You’ll also find explanations of the notation conventions (dashes and octave dots) so you can follow the same melody when it appears in different forms.
Goal: play the melody and its repeated patterns with smooth phrasing, rather than simply reciting numbers. The suggested progression is to understand the notation, play the tab, then refine your rhythm and thumb placement.
To supplement this guide, consult a clear tab on this site and start the exercises.
Understanding numbered notation in tabs for Wet Hands
Start by matching each number to its note to build confidence.
In C major, the mapping is simple: 1 = C, 2 = D, 3 = E, 4 = F, 5 = G, 6 = A, 7 = B. This guide makes it easier to move between numbers, solfège and letter names.
In tabs, you’ll see spaced numbers, groups of numbers written together, or separators such as dashes and slashes. The principle stays the same: the sequence forms a musical phrase, rather than a random list.
A dot above a note (for example, 1°) indicates the octave above. To avoid mistakes, mark the higher tines on your instrument with a small sticker.
Notes in parentheses are played together or in a quick sweep, depending on the effect you want. If you’re a beginner, play them with a slight offset, almost simultaneously, to keep the sound clear.
Once you understand these rules, the tab becomes a readable phrase. To see a clear transcription and follow the exercises, consult this clear tab.
Minecraft kalimba sheet music: play Wet Hands with numbers
Before you begin, check that your instrument has 17 tines and is tuned to C major.
Preparation and a quick checklist
Posture and setup: sit upright, steady the instrument on your knees and check that it is tuned to C major.
Check that you’re holding the instrument steadily, decide whether to play with your thumbnails or thumb pads, and balance the volume of the central and outer tines.
The complete transcription and how to follow it
The numbered sequence below is the tutorial’s “main path.” Work through it line by line, repeating one or two measures at a time.
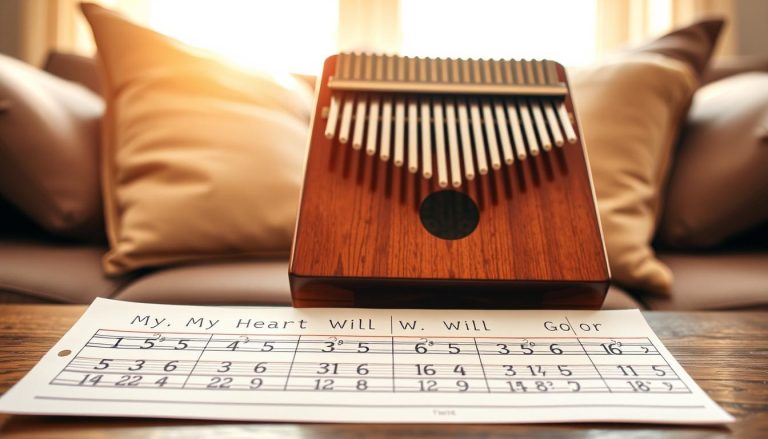
“1 3 1° 2° 3° 2° 1° 54 6 3° 5° 3° 1° …” (complete transcription provided above)
Treat dashes as connected note sequences and slashes found in other versions as visual markers, without assigning them a fixed duration.
Thumb placement, structure and rhythm
Alternate your left and right thumbs according to the layout of the tines. Prepare for jumps to notes marked with a dot.
Keep your place: the first two phrases repeat. Identify recurring patterns to memorise them more quickly.
Rhythm: start very slowly with a metronome, then increase the speed in stages. Record yourself for 30 seconds to check your tempo and the clarity of your playing.
Common mistakes and quick fixes
- Confusing 1 and 1° (different octaves) — mark the higher tines.
- Playing connected groups too quickly — slow down and practise the pattern on its own.
- Letting your thumbs fall out of sync — position the thumb that will play the next note ahead of time.
To check your reading, compare your playing with reliable kalimba tabs on a specialist site.
Play Wet Hands on other instruments using the same notes
To adapt this tablature for other instruments, you only need to convert the scale degrees into notes.
The simple principle: numbered notation shows the degrees of the C major scale. Replace each number with its note (1 = C, 2 = D, 3 = E, 4 = F, 5 = G, 6 = A, 7 = B), and you have a melody line you can play on any instrument.
Practical examples and tips
Piano: play the melody with your right hand. Keep the left-hand accompaniment simple: C–G is enough to stay true to the piece without complicating the arrangement.
Melodic instruments (flute, xylophone, glockenspiel): focus on the main melody. Follow the octave dots, adjusting note pitches to fit the instrument’s range.
- Convert one phrase at a time to avoid mistakes.
- If a note falls outside the instrument’s range, move it by an octave while keeping the same note name.
- Use the tabs as a shared starting point for a duet or small ensemble.
| Instrument | Approach | Tip |
|---|---|---|
| Piano | Right-hand melody + simple bass | C–G for the accompaniment |
| Flute / recorder | Play the melody line solo | Adjust the octave if needed |
| Xylophone / glockenspiel | Follow the octaves | Choose a clear, simple tone |
| Ensemble | Kalimba + piano or another instrument | Use the tab as a shared guide |
For advice or a custom adaptation, contact us and we’ll guide you according to your chosen instrument.
Conclusion
The key is to read the symbols clearly and practise systematically. A dot above a number signals the higher octave, while parentheses indicate notes played together. Understanding these symbols makes tabs easier to read and prevents most mistakes.
A method that works: practise slowly, one pattern at a time, use a metronome, and increase the speed only when the transitions become automatic. Accuracy comes before speed.
Suggested routine: spend 5 minutes on the opening pattern, 5 minutes on the hardest section, then 2 minutes playing the whole piece. Post a short 20- to 30-second video to track your progress and get feedback.
A concrete goal: play the melody all the way through, even slowly, before adding variations. To continue, apply the same approach to other pieces and consult a clear tab that complements this article.