Welcome: here is a simple roadmap for getting started with this instrument in France. This practical guide will help you play your first melody quickly without getting bogged down in theory.
Clear steps: understand the instrument, tune it, find the notes, hold it correctly, read tabs, then build a small repertoire.
We favor measurable methods: a short routine, a metronome and recordings. These tools speed up learning and improve pitch accuracy.
Your practical goal is to produce a clean sound with good intonation, then play two or three songs from your first few sessions. By following the routine, you will develop coordination between your thumbs, reading skills and muscle memory.
Free resources and smartphone tools are suggested to make learning materials easier to access. Print your sheet music, organize your practice sheets and practice regularly to see your progress.
17-key kalimba: understanding the “thumb piano”
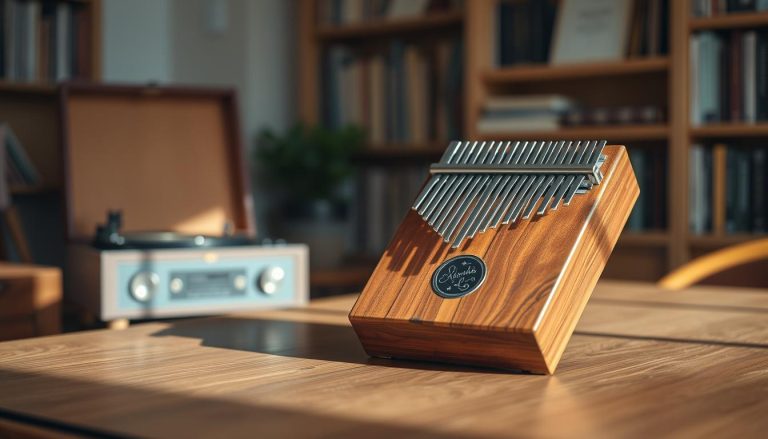
Compact and resonant, this thumb piano turns simple movements into melody. It has 17 metal tines attached to a wooden body. The body amplifies their vibrations; the length and position of each tine determine the pitch of its note.
Distinctive sound: the tone is warm and clear. It is forgiving of small inaccuracies, which helps you stay motivated. The instrument is portable (15 to 25 cm) and has been standardized since Hugh Tracey popularized it in the 1950s.
You play by plucking the tines with your thumbs. The movements are short and natural, encouraging quick progress when your posture is relaxed.
- Alternate left and right around the central tine to develop coordination.
- The range is wide enough for nursery rhymes, lullabies and popular tunes.
- Quick checklist: instrument stable, sound holes clear, thumbs ready and attention on resonance.
| Part | Function | Benefit |
|---|---|---|
| Wooden body | Amplifies vibrations | Warm tone and better resonance |
| Metal tines | Determine note pitch | Clear layout that is easy to memorize |
| Thumb playing | Attack and articulation | Short movements, comfort and quick learning |
What you need to get started today
A well-chosen small kit makes each session easier and protects your instrument.
A practical basic kit: a tuner app, a small tuning hammer, a soft cloth for wiping the tines and a carrying case.
Visual markers speed up learning. Subtle stickers with letters or numbers help you memorize tine positions quickly. Remove them gradually as your ear becomes more reliable.
Rule of thumb: do not cover the tines with too many labels. Too much adhesive can interfere with vibration. Check the tuning again after applying each sticker.
Useful apps
Run your tuner for one or two minutes before playing. Check the central tine first, then a few key notes with Smart Kalimba, gStrings or Free Universal Tuner.
Practical tip: practice somewhere quiet so the app can pick up the sound clearly. Place the instrument on a stable support for a more reliable reading.
| Tool | Use | Benefit |
|---|---|---|
| Tuner app | Check the pitch of the tines | Prevents you from learning on out-of-tune notes; quick adjustment |
| Tuning hammer | Change a tine’s pitch | Precise corrections without damaging the instrument |
| Subtle stickers | Visual markers on the tines | Less time spent finding positions |
| Cloth and case | Care and protection | Longer instrument life and safer transport |
To choose a suitable instrument or better understand its accessories, see our buying guide.
Tuning a 17-key kalimba: a simple, reliable procedure
Starting with a reference note makes the whole tuning process easier.
Starting point: set the instrument on a stable surface. Open your tuner app and play the central tine. Aim for C (C4 ≈ 261.63 Hz) as your audible reference.
Step-by-step procedure
- Open the tuner app and play the central tine.
- Tune each tine as you move away from the center, working symmetrically toward the sides.
- If a tine is too sharp (♯), tap it gently downward with the hammer.
- If a tine is too flat (♭), tap it gently upward.
- Use very small taps and check the pitch immediately.
Quick check: after tuning them all, replay three or four reference notes at the center and edges. Listen for beats between neighboring notes; if you hear pulsing, make small adjustments.
Quick routine before every session
Two or three minutes are enough if the instrument is well maintained. Check the central tine, then a pair of outer tines. This short routine supports accuracy and stability.
| Action | Why | Practical tip |
|---|---|---|
| Central reference (C4) | A stable basis for the whole instrument | Use the tuner for one or two seconds |
| Small adjustments | Prevent overshooting the target | Tap lightly and check after every tap |
| Check after playing | Some tines shift with vibration | Check again after a few minutes of playing |
Common mistakes: forcing a tine, making too large a correction, tuning in a noisy place or forgetting to check again after an adjustment. Be patient; accuracy develops step by step.
Notes and tine layout: finding your way around
The alternating layout around the center naturally guides your thumbs. The tines are labeled C D E F G A B (do, re, mi, fa, sol, la, ti). Pitch rises as the notes alternate left and right from the center, which explains how your thumbs move as you play.
Mental landmark: the central tine is your fixed reference. Count one or two positions to its left or right to find a note quickly.
A few quick ways to play without hesitation:
- Find the center, then count the tines visually.
- If unsure, confirm the pitch by ear.
- Use subtle color or letter stickers, then remove them gradually.
The alternating layout means sharing the melody between both thumbs. Each thumb focuses on one side of the tines, making coordination feel gradual and natural.
Short exercise: loop “center, left, center, right” at a steady tempo. This helps you memorize tine positions while working on attack and volume control. A note near the edge needs a particularly gentle attack.
Grip, posture and both hands: getting a clear sound from the start
A good grip makes a difference: it lets the body resonate fully. Rest the instrument in your palms to keep it stable without squeezing its body.
How to hold the instrument without muffling its resonance
Standard position: thumbs above the tines, other fingers behind the body. Keep the sound holes clear so the sound can project and you can produce effects.
Posture and attack
Keep your shoulders low, neck relaxed and wrists neutral. Pluck with your nail rather than the pad of your thumb for a crisp sound with less unwanted noise.
First steps in two-hand coordination
The right thumb often plays the melody, while the left plays a supporting note or small chords. Start by playing two notes together to feel the balance.
Simple exercise: play a slow phrase with your right thumb and repeat one note on the left on every strong beat. This steadies the rhythm of your daily practice.
| Aspect | Recommended position | Quick tip |
|---|---|---|
| Grip | Palms beneath the body, thumbs above | Keep the sound holes clear |
| Posture | Shoulders low, wrists neutral | Breathe between phrases |
| Attack | Nail angled toward the tine | Use a short attack for a clear sound |
| Coordination | Right: melody; left: support or chords | Start slowly, then speed up |
If the sound is muffled, first check that your fingers are not covering the holes and that your grip is not too tight. For sheet music and exercise examples, see this beginner score.
Reading kalimba tabs: progress quickly with a visual guide
Tabs make practice easier by showing exactly which tines to pluck. They act as a ready-to-play map, reducing hesitation and speeding up memorization.
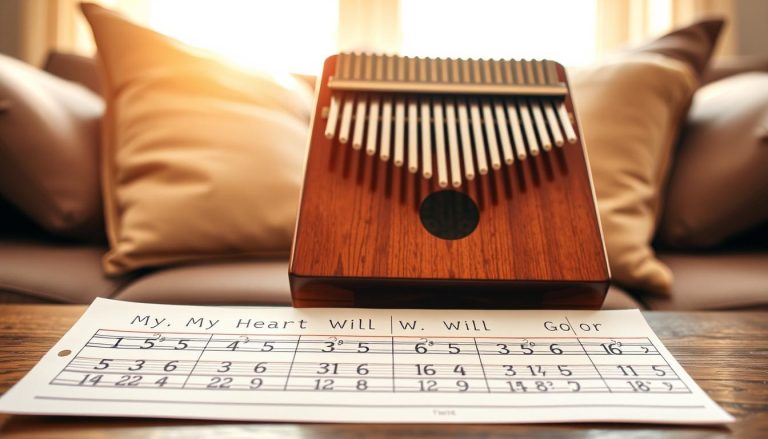
What is tablature? It is a visual representation of the tines, often in a grid. It shows the sequence of notes, reading direction and notes to play at the same time.
Reading direction and markers
Identify the grid, columns and markers. Follow the indicated direction: this method recommends reading from bottom to top to stay consistent with the guide.
Aligned notes: playing together
When symbols are stacked, play them together. These stacks prepare you for simple chords and immediately enrich the sound.
Marking thumb choices
Write L and R beside the figures or use a color for each thumb. These markings steady your coordination and help you avoid using the wrong hand.
Break it down and repeat
Divide the piece into blocks of two to four measures. Repeat each block 10 to 20 times.
- Play slowly and cleanly.
- Speed up only when the sound is even.
- Listen to the original recording to find the rhythm.
For a gradual learning approach and annotated tabs, see our practical guide to the learning method.
Understanding standard sheet music, even as a beginner
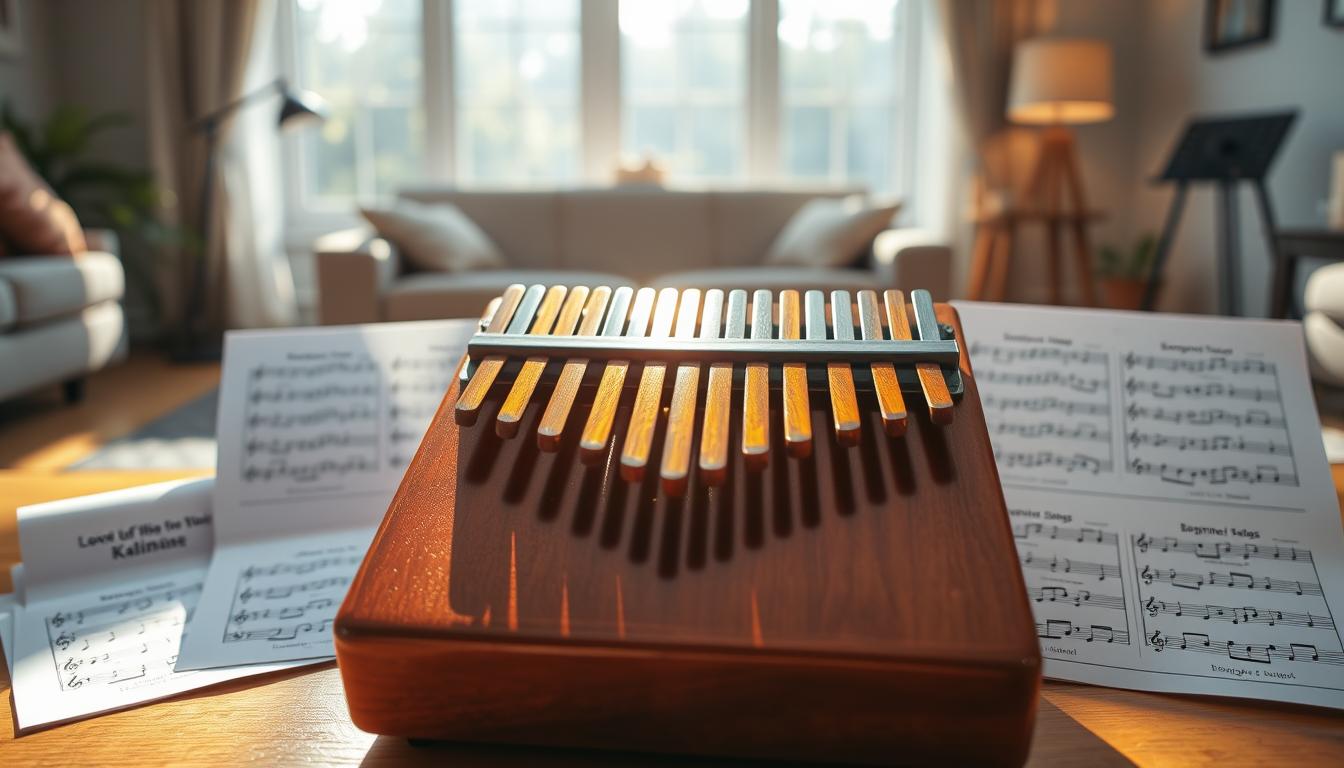
Standard sheet music conveys melody through clear pitches and rhythms. It combines a staff showing pitch with symbols showing note lengths. Knowing these basics is enough to play without advanced music theory.
Staff, rhythm and matching notes to tines
Pitch = position: find the line or space on the staff, then find the corresponding tine. Note values, such as quarter notes, half notes and rests, show the rhythm and tell you when to pluck.
Numbers below notes: easier reading
Numbers beneath the notes show which tine to pluck. They help you read quickly and connect the score to the instrument without hesitation.
Chords on a score: playing stacked notes
Stacked notes form chords. Play them together with both thumbs, slowly at first. Isolate one measure, count aloud, observe the rests, then continue once the passage flows smoothly.
| Element | What it shows | Practical tip |
|---|---|---|
| Staff | Pitch | Find the visual match |
| Rhythmic values | Note lengths and rests | Count aloud, starting slowly |
| Numbers below notes | Tine position | Follow them, then gradually stop relying on them |
Alternating sheet music and tabs: an effective way to learn
Alternating sheet music and tabs speeds up learning by connecting musical understanding with automatic movements.
What sheet music develops
Sheet music strengthens your sense of rhythm. It makes you read note lengths, observe rests and anticipate patterns.
It also trains your ear by familiarizing you with intervals. Finally, it improves your overall reading and understanding of a piece.
What tabs develop
Tabs make playing more reliable. Repetition helps movements become automatic and builds muscle memory.
They let you learn complex note sequences quickly without reading the staff at the same time.
A simple strategy: learn a passage from tabs, check its rhythm against the score, then play it without either aid. Listen to the original version to match its tempo and phrasing.
To avoid frustration: choose a familiar piece and work in small sections. Make progress through short repetitions rather than long, unfocused sessions.
| Material | Skills developed | Sign of progress |
|---|---|---|
| Sheet music | Rhythm, reading, anticipation and ear training | Fluent reading of rhythmic values |
| Tabs | Physical execution, muscle memory and automatic movement | Less hesitation when changing notes |
| Combined method | Connects understanding with practice | Steady tempo from start to finish |
For a step-by-step plan and resources, see this beginner’s guide.
Your first guided session: a simple routine to start playing quickly
A clear, short session helps you progress without losing your way. Here is a ready-made routine for today: tune, warm up, work on a pattern, learn a short excerpt and finish with free play.
Warm-up (5 minutes)
Play the central tines slowly for five minutes. Aim for the same attack on every note.
Listen to the resonance and adjust your thumb pressure for a clear sound. This develops accuracy and prepares your fingers.
Left-right patterns
Repeat simple alternations: center, left, center, right. Play each pattern at a slow tempo.
This exercise develops coordination without adding too much reading. Repeat each pattern cleanly before increasing the speed.
Structured practice block
- 10 minutes of tabs to make movements automatic.
- 10 minutes of simple chords to work on sound balance.
- 5 minutes of free exploration to develop your ear and creativity.
Adjust the times to your needs, but keep this order: movements, chords, then free play.
Record yourself for one minute
Record yourself for one minute, then listen back. A short listen is enough to notice speeding up, uneven passages or volume imbalances.
Repetition rule: replay the same passage cleanly several times instead of repeating mistakes.
For a gradual learning plan and additional resources, see this beginner’s guide.
Use a metronome: tempo, consistency and measurable progress
A metronome’s beat steadies your movements and rhythm. This tool turns intuitive practice into clear progress. It keeps the tempo constant and makes the beat audible.
What a metronome does: it provides a framework. You hear the beats and correct any tendency to speed up. Listen to its pulse before you begin playing.
How to increase speed: start very slowly, check that your playing is clean, then raise the tempo in 5 BPM steps. Increase it gently as long as each passage remains clean.
Counting beats: mark them aloud and include rests. Feeling the pulse helps you avoid rushing transitions. Warning signs include speeding up in easy passages, slowing down at jumps and forgetting rests.
- 1 minute: listen to the metronome alone and mark the beat.
- 2 minutes: practice a repeating pattern.
- Return: play the piece at your target tempo.
| Action | Time | Expected effect |
|---|---|---|
| Listen to the beat | 1 minute | Steadies your sense of time |
| Repeat a pattern | 2 minutes | Improves rhythmic accuracy |
| Increase the tempo | Gradually, in 5 BPM steps | Helps you progress without errors |
In short, use the metronome regularly. By keeping the tempo and observing the beats, even a short session becomes musical and precise.
Easy first songs on a 17-key kalimba: a motivating small repertoire
Choosing simple tunes turns practice into immediate musical enjoyment. This small repertoire brings together short, recognizable songs. The suggested order supports gradual progress.
Happy Birthday
Goal: accurate notes.
With its simple rhythm, this piece calls for a clean attack and consistent tuning.
Au clair de la lune
Goal: consistency and phrasing.
Work on the rests and breathe between phrases to make it sing.
We Wish You a Merry Christmas
Goal: reading confidence.
Repeated patterns strengthen visual memory and fluency.
Petit Papa Noël
Goal: an introduction to chords.
Playing your first notes together helps coordinate your thumbs and balance accompaniment with melody.
You Are My Sunshine
Goal: doubled notes and sound balance.
Practice balancing the volume of the central and outer tines.
| Song | Goal | Quick tip |
|---|---|---|
| Happy Birthday | Accurate notes | Play slowly, then speed up when your playing is clean |
| Au clair de la lune | Consistency and phrasing | Leave space to breathe |
| We Wish You a Merry Christmas | Reading confidence | Repeat the patterns 10 times |
| Petit Papa Noël | Introduction to chords | Isolate the two notes, then play them together |
| You Are My Sunshine | Doubled notes and balance | Balance the volume across different parts of the instrument |
Beginner techniques that immediately sound musical
A few simple effects can make a melody expressive from your first session. These movements work alongside reading sheet music and immediately improve musicality.
Vibrato and wah-wah with the sound holes
Covering and uncovering the opening in the body while a note rings creates a wah-wah effect. Do it slowly at first to feel the change.
For vibrato, move your hand gently back and forth while the note rings. Practice on a single note to control the amount of movement.
Clean glissando
To play an ascending glissando, brush across three or four tines in succession toward the outside at a controlled speed. Ascending runs are generally easier than descending ones.
Play descending runs more slowly and distinctly to avoid catching a tine. Repeat short sequences to make the movement automatic.
Getting a clear sound
Attack angle: pluck with the edge of your nail rather than the pad of your thumb. Control how long the note rings by releasing it cleanly.
Aim for the same volume with both thumbs; practice each note separately until the sound is even.
Protecting your thumbs
- Use silicone thumb covers if your thumbs become sore.
- Take frequent short breaks to prevent fatigue.
- Trim your nails for clean, comfortable contact.
Short musical exercise: let a note ring, add a wah-wah effect, then connect two notes legato. Repeat five times. The goal is a cleaner, more expressive sound within a few sessions.
| Technique | Goal | Tip |
|---|---|---|
| Wah-wah | Color the resonance | Cover the holes gradually |
| Glissando | Connect notes | Control the speed and slow down on the way down |
| Protection | Protect your thumbs | Thumb covers and short breaks |
To explore these techniques and maintain good playing habits, see a practical guide to basic techniques.
Online resources: free tabs and legal kalimba sheet music in France
Access to reliable resources lets you practice with confidence. Look for French sites offering clear, downloadable PDFs for personal use.
Among useful libraries, Instruments du Monde offers 41 free articles organized by level and topic. The files are designed to be easy to read while practicing, and the stated average rating is 4.6/5.
Good downloading and printing habits
- Download the latest version and check that it is readable on your phone or tablet before printing.
- Print on A4 paper at 100% without scaling, and keep the margins to avoid cutting anything off.
- Choose PDFs with clear markers and, if possible, a short version suited to a standard instrument’s repertoire.
Organizing your music by level and song
File your sheet music on paper or in digital folders by level, then by song. Mark thumb choices, difficult passages and your target tempo.
| Resource | Content | Tip |
|---|---|---|
| Instruments du Monde | 41 free articles organized by topic | Check the 4.6/5 rating and download the latest version |
| PDFs | Printable A4 files | Print at 100% and keep the margins |
| Filing system | By level and song | Mark thumb choices and sections |
Routine for using resources
- Choose one simple song and one that motivates you.
- Plan two or three sessions a week to build a lasting repertoire.
- Keep a folder with quick access to your best free tabs and sheet music.
Conclusion
A quick ritual before playing turns occasional practice into measurable progress.
The shortest route: tune reliably before every session, learn the tine positions and keep a relaxed posture. Learn a simple piece in sections, repeat it cleanly with a metronome, then gradually increase the tempo.
The key is to alternate tabs and sheet music to improve both playing and reading. A few minutes of regular, structured practice are more valuable than one long, scattered session.
Build a small repertoire of three to five pieces to stay motivated. Record yourself, note one thing to correct, then return to a slow tempo when your accuracy slips.
For ideas for simple songs and a plan for progressing, see this small repertoire.