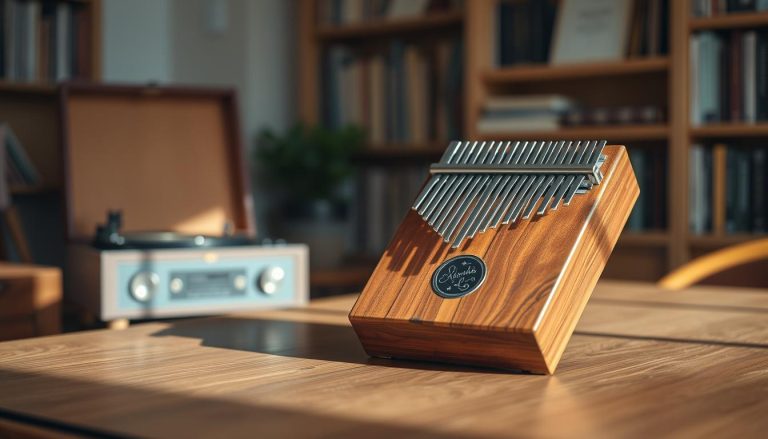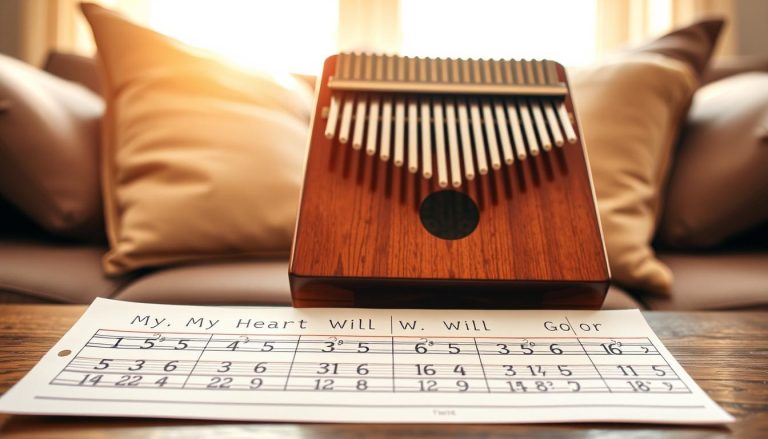
Want to get a better feel for the beat and play this African thumb piano by ear? This guide presents a simple method for turning hesitant playing into a groove.
Here is a clear way to practise: start with a metronome at 60 BPM, record yourself, and increase the speed gradually. Keep the recommended routine short: 10 to 15 minutes a day, focusing on accuracy rather than speed.
This guide is for beginners with 17-tine kalimbas, players with 8-tine kalimbas, and musicians returning to music without reading notation. You will learn to steady your posture, coordinate your thumbs, and repeat short patterns.
As you work through the exercises, you will add accents, offbeats, and expressive techniques (glissando and vibrato using the sound holes). Expected result: a steadier tempo, greater accuracy, and the ability to play simple melodies from your favourite songs.
Understanding kalimba rhythm without reading music
Feeling the beat turns a sequence of notes into living music. Learning begins by ear: the natural movement of your thumbs and the immediate sound help you establish a steady tempo.
Why this instrument makes learning easier
The symmetrical layout and alternation between the left and right thumbs create a regular pulse. This simple movement builds muscle memory and makes the basics easier to learn.
Beats, pulse, and accents explained
Beat: a unit within a bar that you can mark with your foot. Pulse: a steady beat. Accents: extra emphasis given to a beat (for example, the first beat of a four-beat bar).
What does learning without sheet music mean?
Learning without sheet music means memorising short patterns by imitation. You can start with tabs, then gradually play without them. Here are a few quick tips:
- Choose a slow song, hum its beat, then reproduce it on one tine.
- Isolate a pattern of 2 to 4 notes until you can play it steadily.
- Build a small repertoire of repetitive melodies to make the movements automatic.
Preparing your instrument for steady rhythmic playing
A properly tuned instrument is the foundation of accurate playing. When the notes are in tune, you hesitate less and keep the beat more easily.
Choosing between 17 and 8 tines
17 tines: ideal for beginners who want to explore chords and movement across the instrument. The tines offer more harmonic possibilities and exercises.
8 tines: easy to carry and suitable for practising simple patterns anywhere.
Before buying, check how comfortable the tines feel, the resonance, the readability of any note stickers, and how the instrument feels in your hands.
Simple tuning with apps
Open an app such as gStrings, Smart Kalimba, or Panotuner. Work in a quiet place so the app can detect the notes more easily.
Procedure: open the app, play a tine, identify the displayed note, adjust the tine slightly with a tuning hammer (tap it inward for a lower pitch or outward for a higher pitch), then check it again.
When to check the tuning
Maintenance routine: check the tuning after about every 15 hours of playing, or after transport or a change in temperature.
Here are a few quick tips: start with the centre tine, tune the tines symmetrically, and avoid striking them too hard so they do not shift out of alignment.
| Criterion | 17 tines | 8 tines |
|---|---|---|
| Recommended for | Beginners learning the basics | Travellers and playing on the go |
| Range of notes | More notes and chords | Limited notes, simple patterns |
| Maintenance | Check the tuning about every 15 hours | Same guidance, in a more compact format |
| Readability | Good for learning | Easy to read on the go |
For help getting started with a recommended model and learning resources, see this 17-tine guide.
Posture and hand position for keeping time
A comfortable hold helps you produce a steady, audible beat. Good posture reduces tension and makes the basics easier to learn.
Playing on a table or holding the instrument: finding stability
On a table: place the instrument on a stable surface and tilt it slightly. This position makes it easier to correct your movements without tiring.
In your hands: support the instrument with your palms. Let your fingers support the back without squeezing the body. This keeps the instrument free to resonate and steady in your hands.
A 45° angle and freedom of movement for your thumbs
Keep the instrument at an angle of about 45° for better sound projection. This helps you pluck the tines cleanly and hear the notes clearly.
Take care not to block the sound holes. Keep your shoulders relaxed, your wrists neutral, and your thumbs free to move.
Quick test: play one tine for 60 seconds. If the sound becomes muffled or your hand gets tired, adjust your position.
Plucking technique: try your thumbnail, then the pad of your thumb, and choose whichever produces a clear, even sound. Adjust your movement for comfort.
| Aspect | Playing on a table | Holding the instrument |
|---|---|---|
| Stability | Very stable; suitable for beginners | Stable when your hands are relaxed |
| Thumb control | Movements are easy to observe and correct | Freedom of movement; practical on the go |
| Sound projection | Good, depending on the tilt | Better at an angle of about 45° |
| Fatigue | Less during short sessions | Possible if you grip the instrument too tightly |
To learn more about posture and technique, read a beginner’s guide and these tips on holding a similar instrument comfortably: how to hold your ukulele.
Kalimba rhythm exercises: improve without sheet music
Start by establishing a pulse on a single tine to steady your tempo. This simple approach provides a foundation for every other technique.
The “steady pulse” exercise
Choose the centre tine. Play notes at an even volume for 60 seconds. Aim for a consistent sound and a steady beat.
Alternating your left and right thumbs
On the same note, alternate your thumbs without changing how hard you pluck. The goal is smooth coordination without sudden changes in volume.
Quarter notes, eighth notes, and triplets
Practise subdivisions on one tine: start with quarter notes, then move to eighth notes and triplets. Tap your foot to feel how each beat divides.
Moving between tines
Keep the same pulse as you move: centre → one tine to the right → centre → one tine to the left. Do not let the rhythm speed up.
Accents and offbeats
Accent every fourth note, then place the accent between beats. This variation creates a groove without reading sheet music.
“If you lose the tempo, return to one tine and slow down.”
Chord variation: occasionally replace a note with a small, two-tine chord. This enriches the sound while preserving the pulse.
To correct mistakes, slow down and repeat the isolated pattern, then bring back the movements and accents. Tabs can help you find a sequence, but keep listening to the beat.
Practising with a metronome to improve quickly
A metronome gives you a constant reference for playing in time. It makes the beat audible, reveals unintentional speeding up, and makes learning easier.
Start at 60 BPM and build accuracy
Try this simple sequence: 2 minutes on one note, 2 minutes alternating thumbs, and 2 minutes moving between tines. Aim for clean, even plucking. Accuracy matters more than speed.
A one-month progression plan from 60 to 120 BPM
Increase the tempo by 5 BPM every 2 to 3 days if your playing stays accurate. If you miss 2 out of 10 notes, slow down by 5 to 10 BPM until you regain stability.
Listen back: measure your rhythmic stability
Record 30 seconds on your smartphone. Listen for changes in tempo, unintended accents, and uneven plucking. This method helps you improve quickly.
- A few tips: playing cleanly at 60 BPM is better than playing unevenly at 100 BPM.
- A metronome app and a recording app are enough to track your progress.
- Keep your practice regular, short, and focused.
| Action | Duration | Goal |
|---|---|---|
| 60 BPM – one note | 2 min | Steady the plucking |
| 60 BPM – alternating thumbs | 2 min | Coordination |
| Controlled movement between tines | 2 min | Keep the beat |
| Progression | +5 BPM every 2 to 3 days | Improve accuracy and confidence |
Daily routines for regular practice
A short, regular routine helps you consolidate what you have learned. This method values consistency: 10 to 15 minutes a day helps make movements automatic and improves accuracy.
Short routine (10 to 15 minutes) — ideal for beginners
For example: 3 minutes of a steady pulse, 3 minutes alternating thumbs, 3 minutes of subdivisions, and 3 minutes on a short, repetitive melody. This practice helps you stay focused and limits fatigue.
Intermediate routine — coordination and endurance
Add movement across several tines, accent exercises, and a “note-chord-note” sequence to strengthen hand coordination.
Day after day — avoid fatigue and stay motivated
Twelve minutes every day is better than an occasional long session. Take breaks of 30 to 60 seconds, stretch briefly, and stop if pain persists.
Mini-challenges and resources
Increase the tempo by 10% per week only if your plucking stays clean. Here are a few tips: mark your practice on a calendar, make a recording each week to compare your progress, and celebrate steadiness rather than speed.
For practical resources, read a complete beginner tutorial and a guide to playing simple ukulele melodies: complete tutorial and ukulele tip.
“Daily consistency is the key to reliable progress.”
Thumb coordination and independence for playing rhythmic melodies
Independent thumbs let you play rhythmic and harmonic lines at the same time. Start with a short pattern, repeat it slowly, then play it more smoothly. This work builds coordination and confidence.
Repetitive patterns like “Frère Jacques”: build automatic movement without tabs
Choose a simple pattern like “Frère Jacques.” Play it slowly, using the same thumb movements and pulse, until the movements become automatic.
To move away from tabs, learn two bars, repeat them without looking, then add the next two. This makes learning and memorising easier.
The note-chord-note pattern: enrich the harmony while keeping the beat
Work in three steps: (1) play a single note on one beat, (2) play a simple chord on the next beat, and (3) return to a single note. The aim is to keep a steady tempo as you add chords.
- Examples of easy chords (17 tines): play two or three tines together to enrich the sound without complicating the movement.
- Occasionally replace a note with a chord to help your hands get used to a fuller sound.
Smooth transitions: reduce hesitation between centre and outer tines
Practise controlled “jumps” from the centre to the sides and back. Keep your thumbs close to the tines to shorten the distance between notes.
Tip for avoiding hesitation: move one hand slightly while the other thumb plays. This small movement encourages thumb independence and reduces pauses.
“Turn these exercises into songs: choose one or two highly repetitive tunes to make practice more motivating.”
Expressive techniques that strengthen the groove
Ornaments turn a repetitive line into a real groove when the tempo stays steady. Without that stability, these techniques lose their impact. Expression should therefore accompany a regular beat.
From simple to complex glissando
Level 1: glide gently across 3 tines at the end of a bar, with a metronome, without speeding up. Aim for a light, controlled movement.
Level 2: extend the glissando across 5 tines, then return to an anchor note. Add it to a repeated pattern to check your stability.
Vibrato and wah-wah using the sound holes
Place a finger near a sound hole, then uncover and cover it to create a vibrato or wah-wah effect. Do this over a sustained note without changing the pulse.
Using rests
Replace a note with a rest while continuing to tap your foot. This musical breathing improves rhythmic placement and groove.
- Example: play a short melody, insert a rest where you choose, then add an accent to bring it to life.
- Tip: record yourself. Rests and effects quickly reveal whether the beat fluctuates.
Free resources and apps for independent practice
Independent practice mainly needs three tools: a tuner, a metronome, and a recorder. These free resources help you check pitch, tempo, and progress.
Useful apps and when to use them
gStrings, Smart Kalimba, and Panotuner are reliable tuning apps.
Use them before an important session, after transporting the instrument, or whenever its sound seems to change.
Channels, communities, and repertoire
Find tabs and sheet music in free libraries, from creators who share them, and on specialised forums.
To improve, choose a simple song and find a tab, then work on its pulse before learning the notes.
- What you need for independent practice: tune the instrument, keep time, record yourself, and find songs to play.
- Recommended method: record two short takes with a metronome and compare them from one week to the next.
- Learning by imitation: watch the hands, copy the movements slowly, then speed up.
“Share a short recording and ask for specific feedback on tempo, consistency, and accents.”
For additional resources and numbered notation, see this practical guide to useful tools.
Conclusion
To sum up, progress rests on three simple things: a well-tuned instrument, a stable playing position (at an angle of about 45°), and short, repetitive movements.
Prioritise accuracy over speed. Start with a metronome at 60 BPM, check the tuning after about every 15 hours of playing, and practise for 10 to 15 minutes a day.
Work on the pulse, thumb coordination, and a short melody. Build a small repertoire of 2 to 3 easy songs, then add simple chords to enrich the melodies.
Final tips: record yourself each week, adjust the tuning if the sound changes, and read a complete guide to learn more about the instrument: everything you need to know about the kalimba.